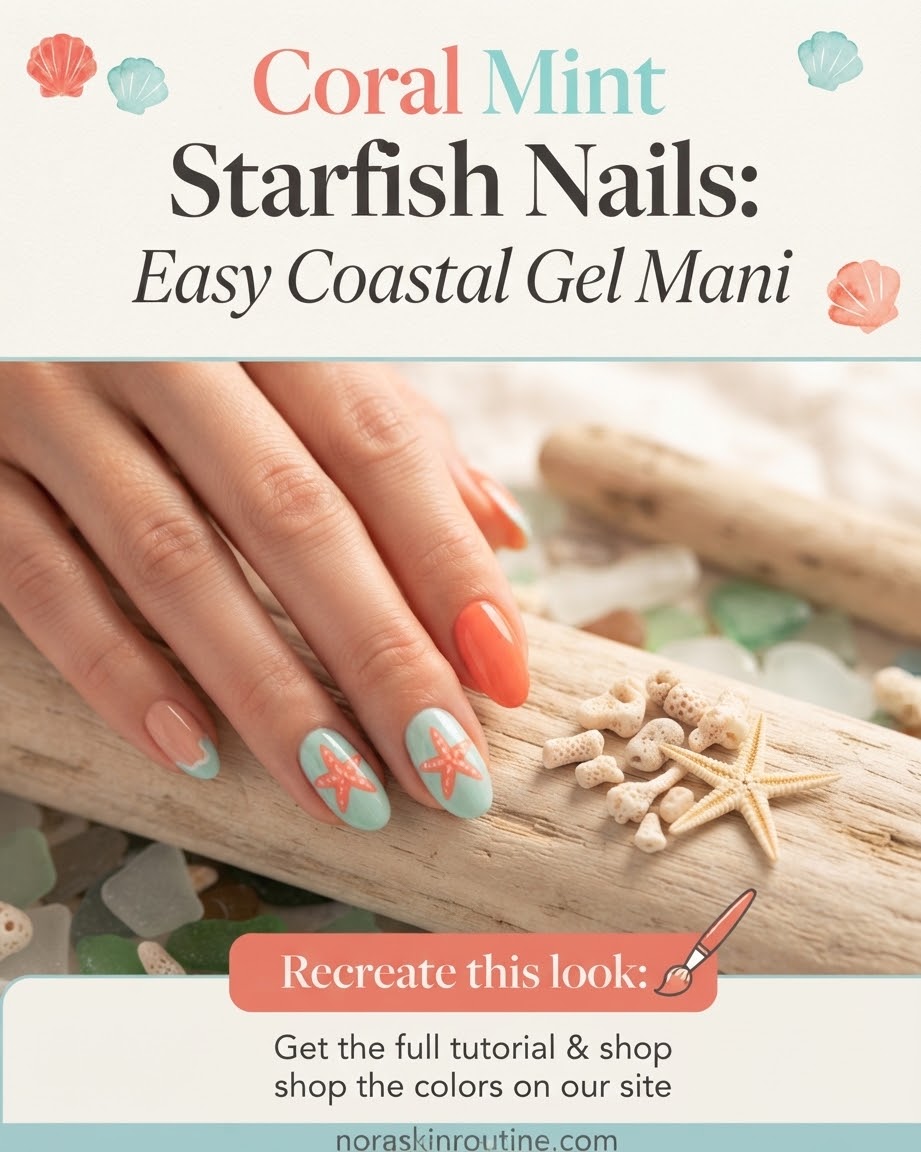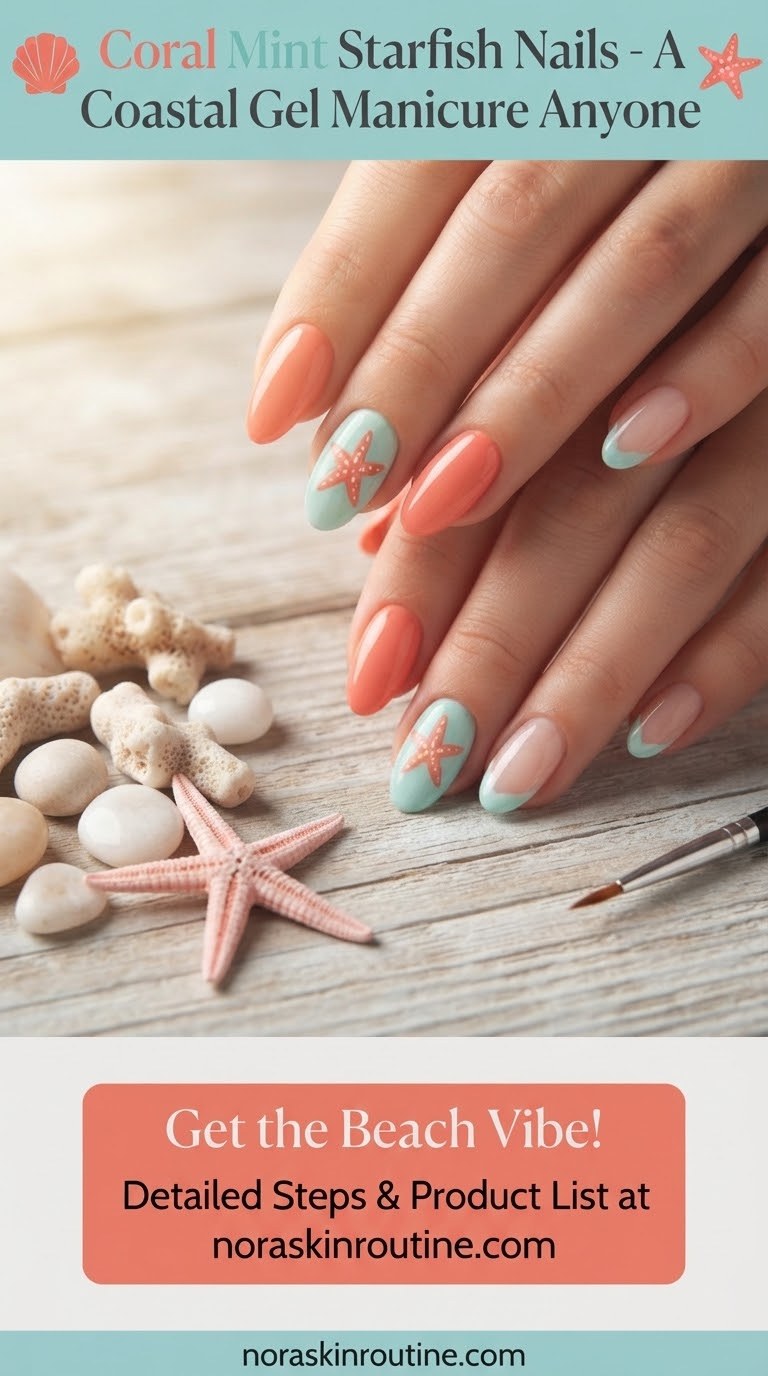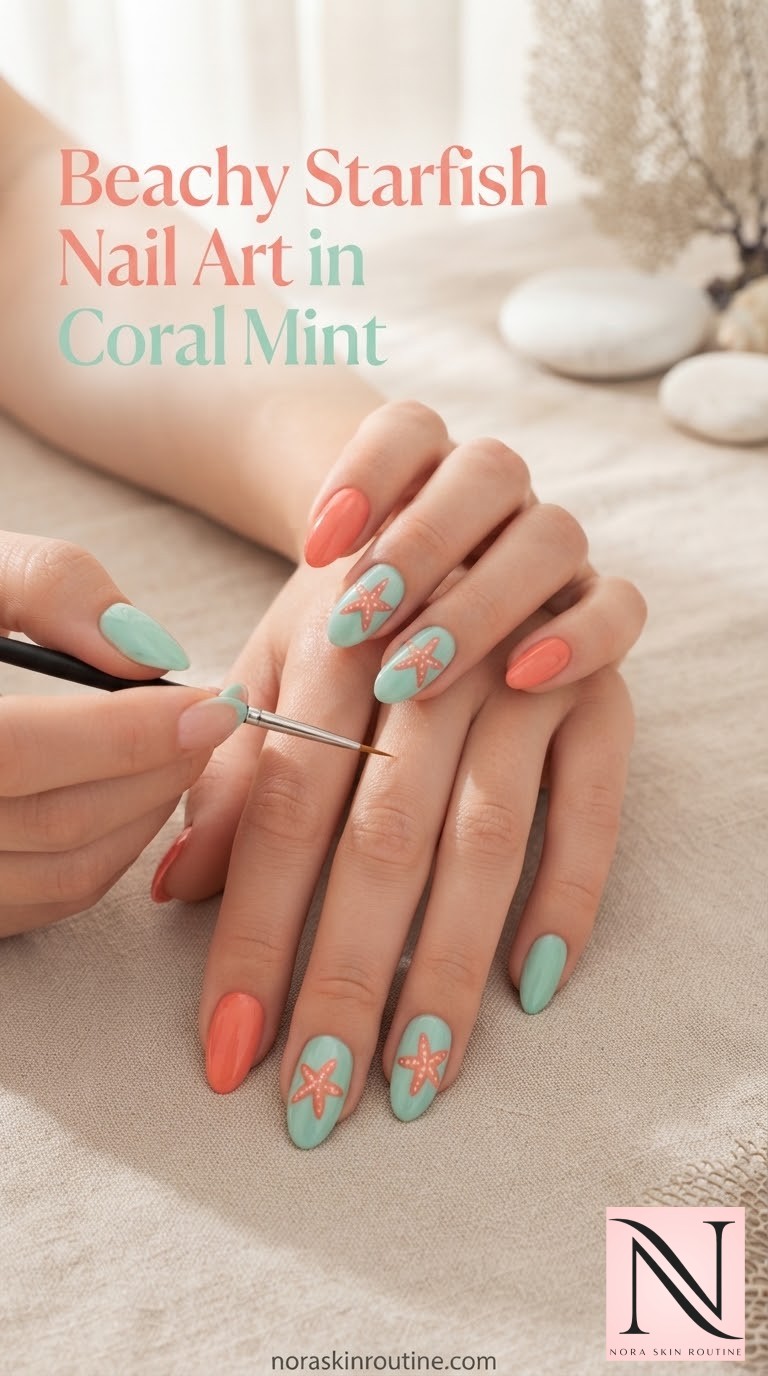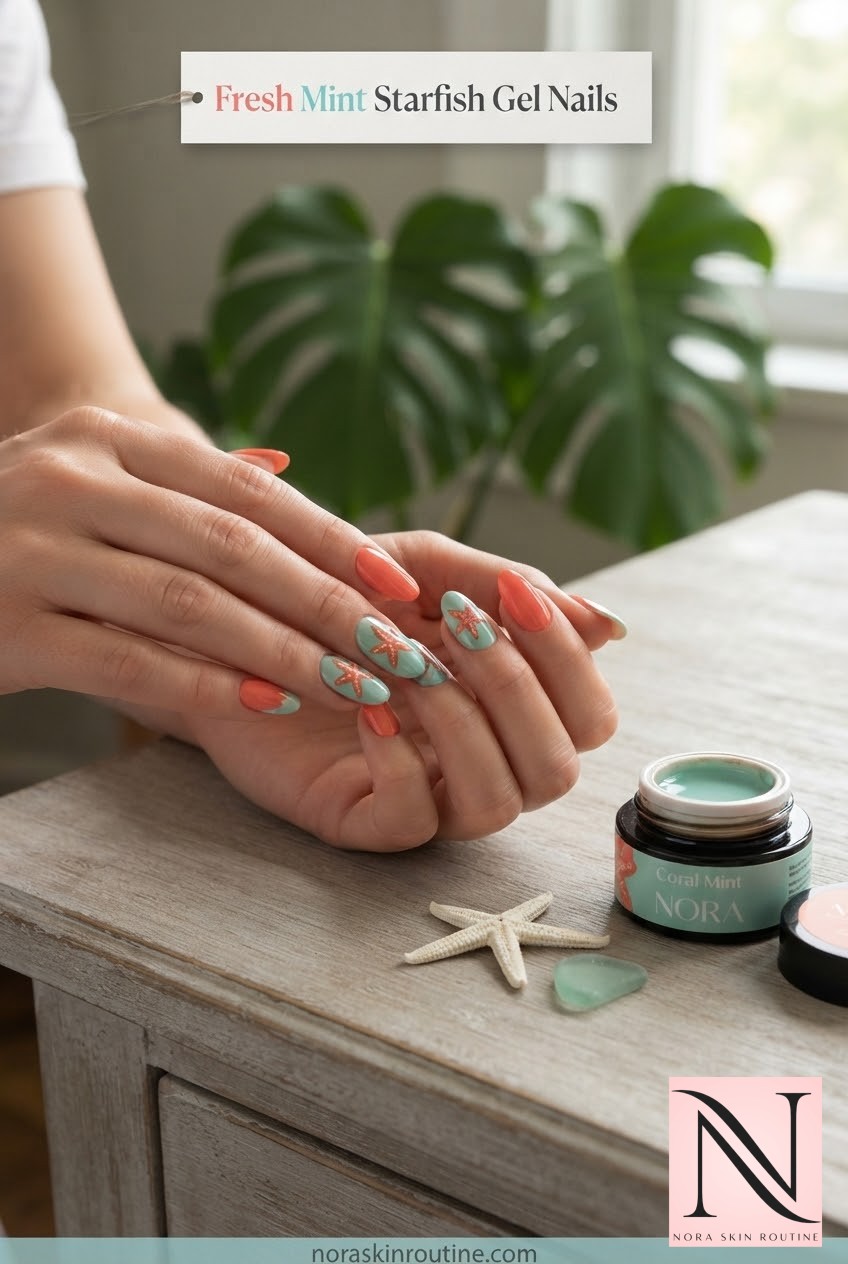
There is something about coral mint starfish nails that instantly reminds me of long walks along the Brighton coast, the kind of colour combination that feels warm and breezy at the same time. If freehand nail art usually makes you nervous, I understand that completely, but this design breaks down into small, manageable steps rather than one intimidating painting. In this tutorial I will walk you through the exact gel routine, colour placement, and the little liner brush trick that makes the starfish look intentional rather than shaky.
Prep and Shape Before Any Colour Goes On
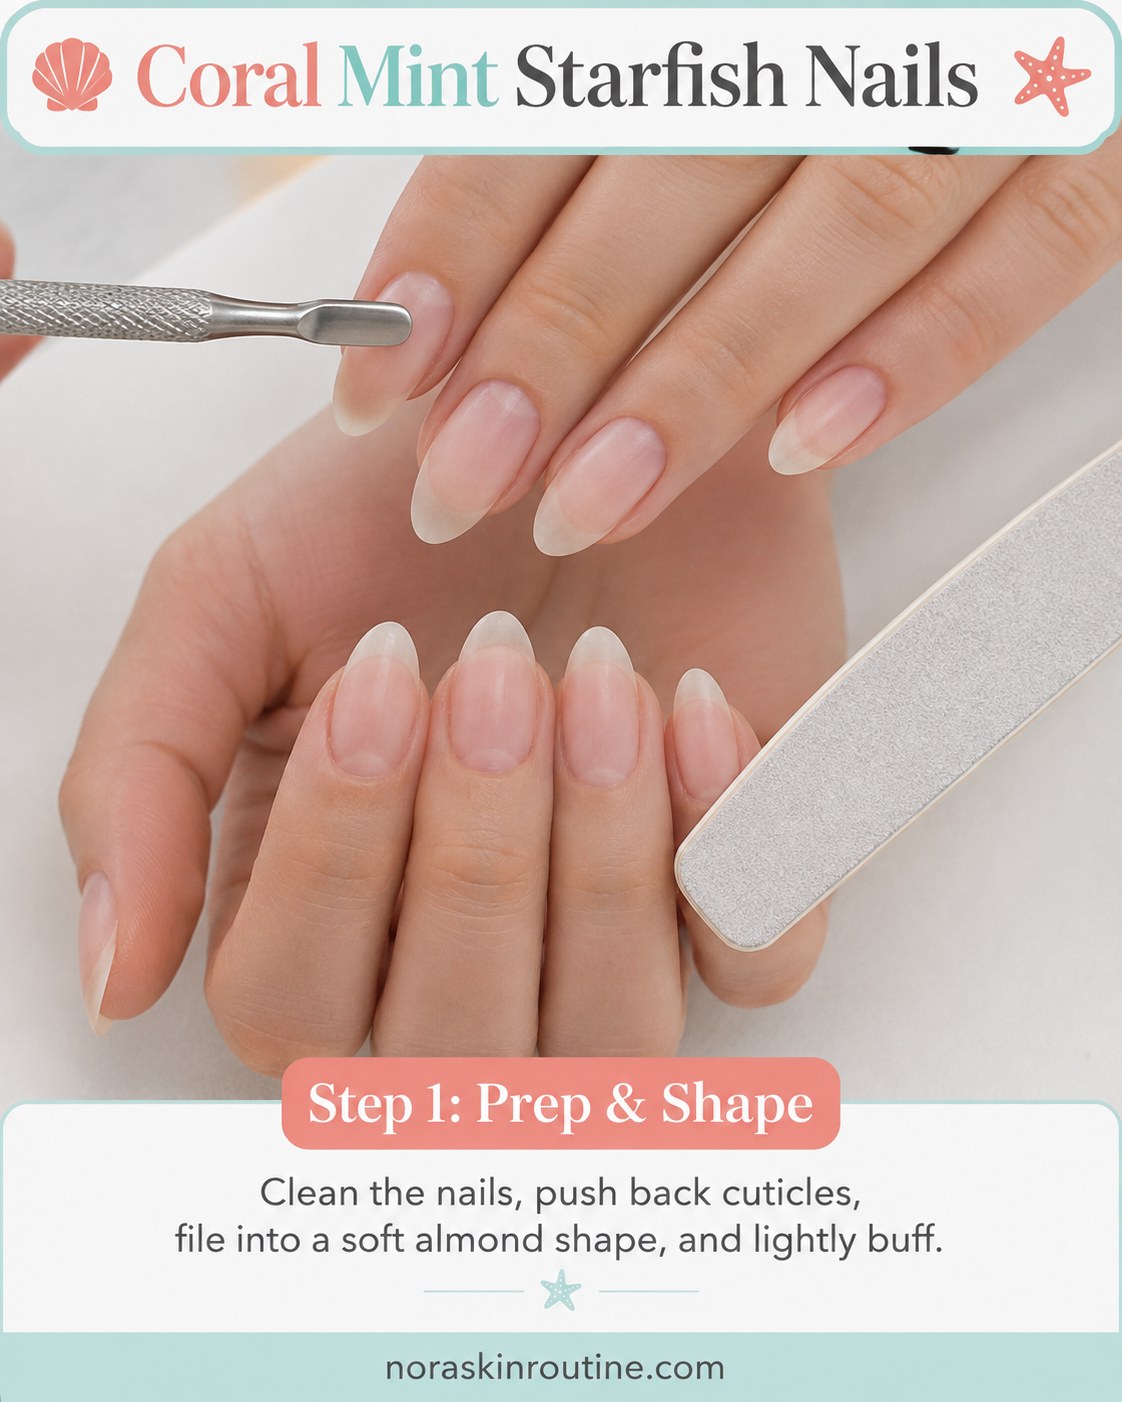
Every long-lasting manicure starts with the same unglamorous step: proper prep. Push your cuticles back gently, clean the nail plate, and file into a soft almond shape, which is the flattering base this whole coastal look is built on.
Once the shape is even across all ten nails, lightly buff the surface. You are not trying to strip the nail down, just breaking the shine so your base coat has something to grip. Skipping this step is one of the most common reasons a gel manicure lifts early, so I never rush past it, even when I am eager to get to the fun colours.
- Cuticle pusher: use gentle pressure only, never force it back
- Almond file: file in one direction to avoid weakening the edge
- Buffer block: a few light passes is enough
Seal Everything With a Thin Cured Base Coat
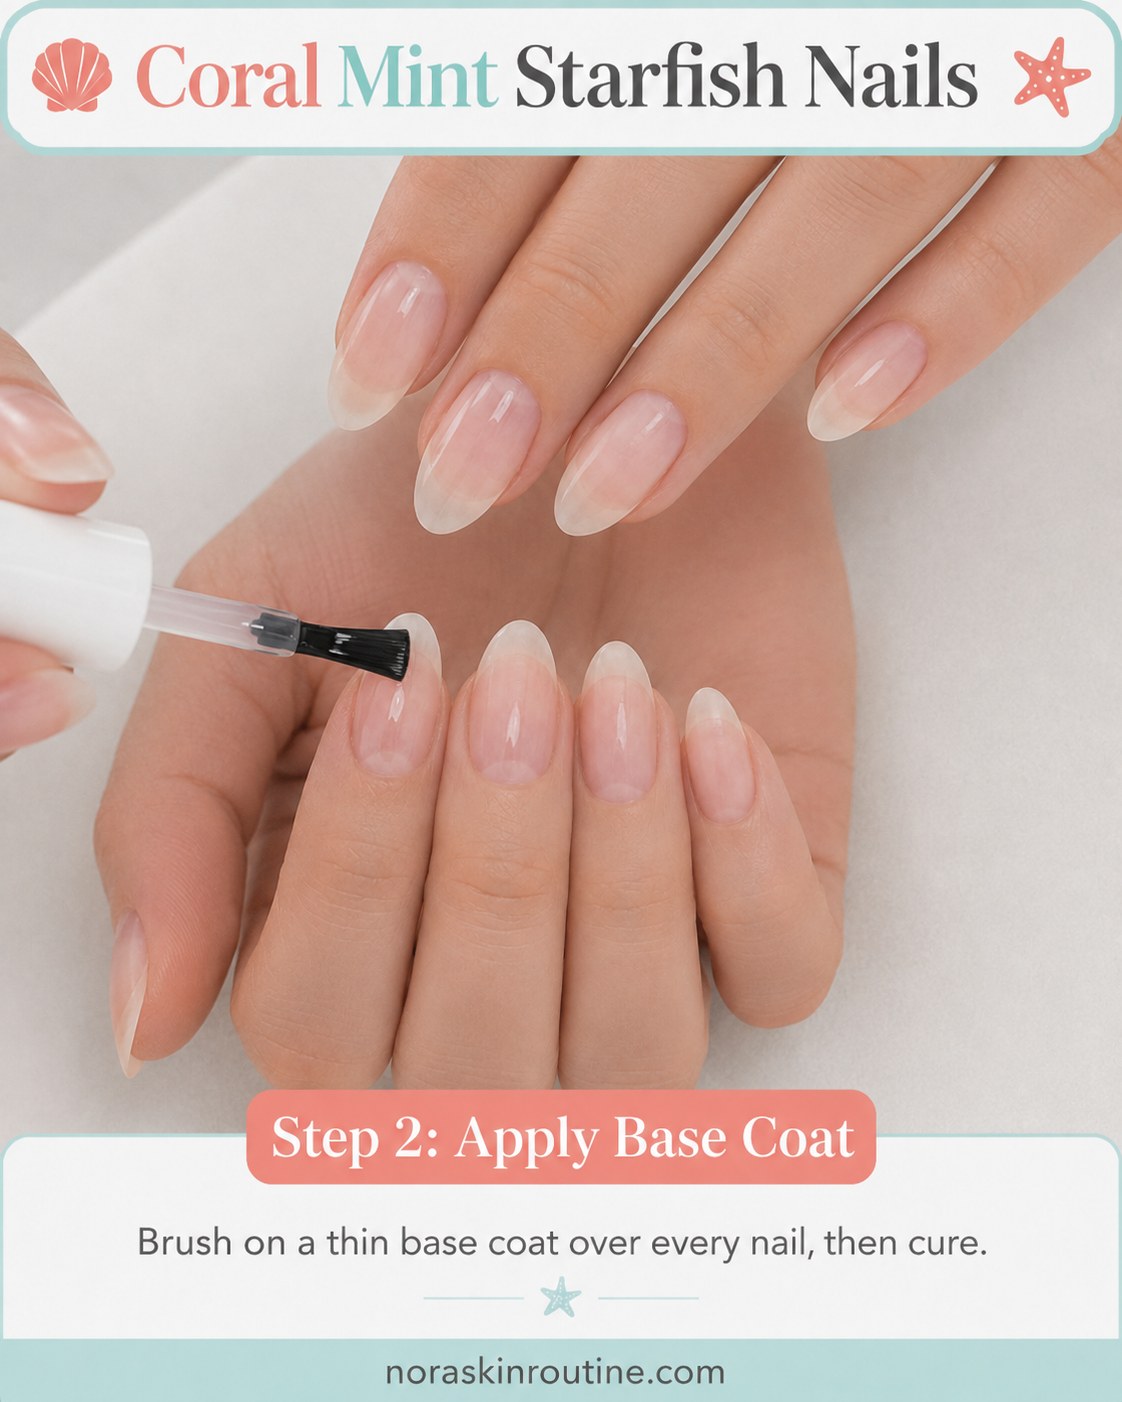
With the nails buffed and clean, brush on a thin, even layer of base coat over every nail, cuticle to tip, then cure. A thin layer matters here more than people expect; a thick, gloopy base is what causes bubbling or a rippled texture once your colours go over it.
A base coat is not just a formality, it is what protects your natural nail underneath two colours and a hand-painted design.
Let it fully cure under your lamp before moving on. This layer is your foundation for the coral and mint that come next, so a bit of patience here really does pay off in how smooth the final result looks.
Paint the Coral Nails First
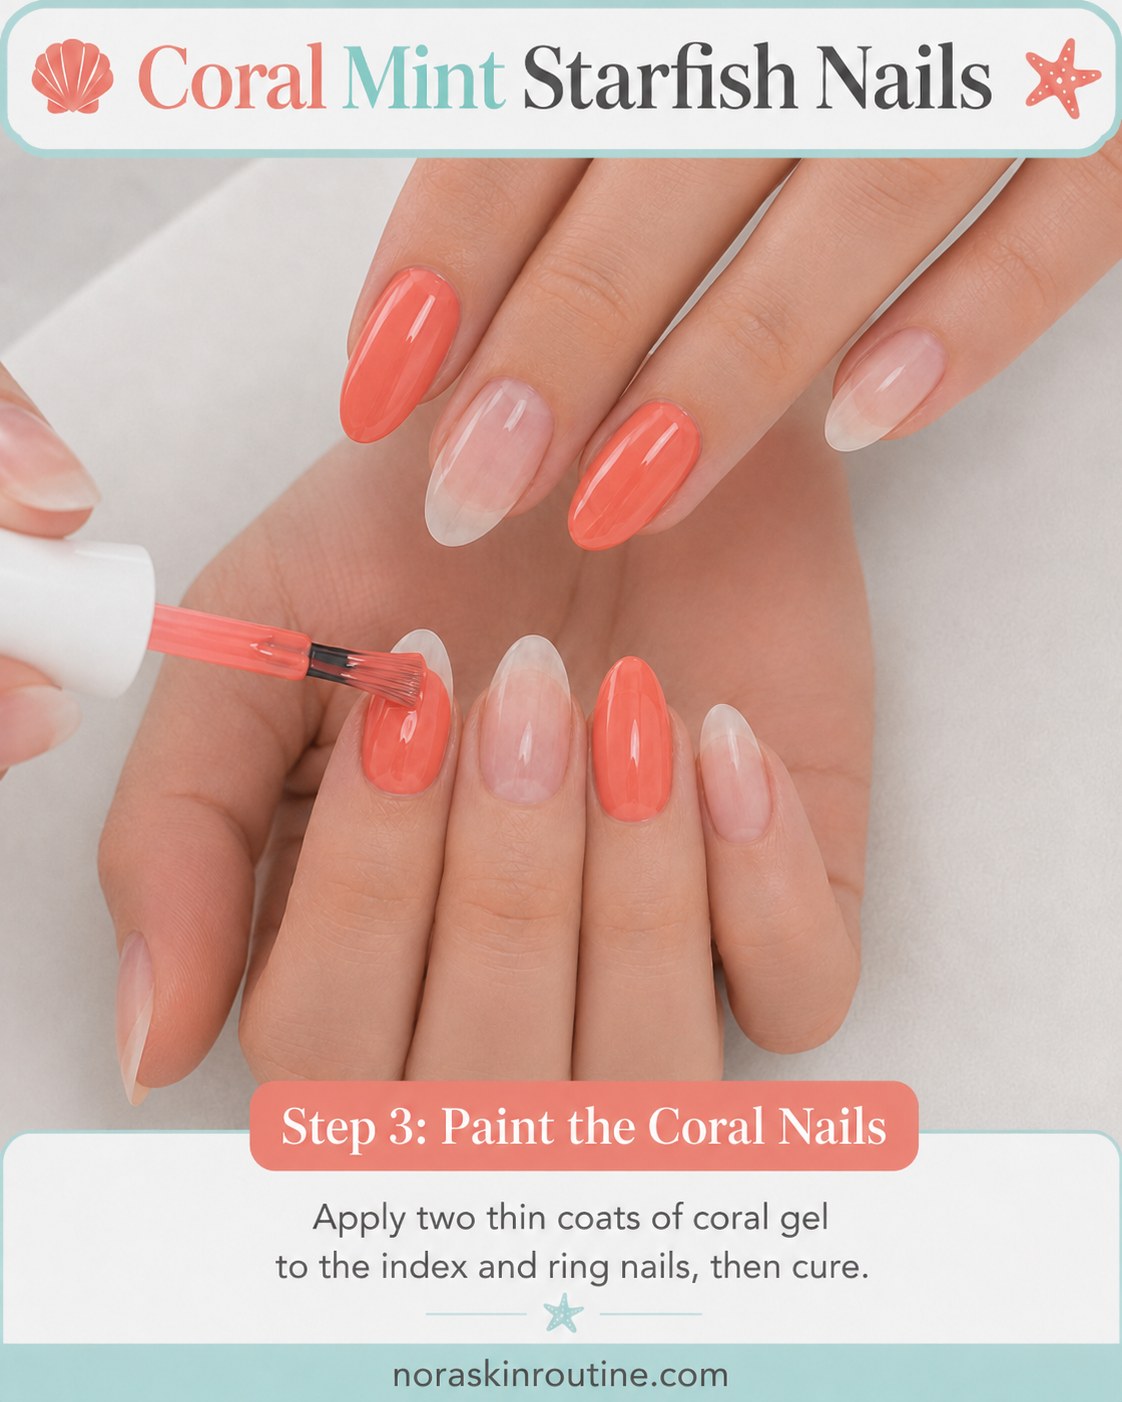
Starting with coral gives the whole set its warm, sun-touched personality. Apply two thin coats of coral gel to the index and ring nails, curing between each coat rather than trying to get full opacity in one pass.
Thin coats matter for two reasons: they cure more evenly and they keep the free edge from looking thick or uneven. If the colour looks slightly streaky after the first coat, do not panic, that is completely normal and the second coat resolves it.
- Load the brush lightly so you are not flooding the cuticle line
- Cap the free edge with each coat to help prevent early tip wear
- Cure fully before starting the second coat
Add the Mint Accents and Drip Tips
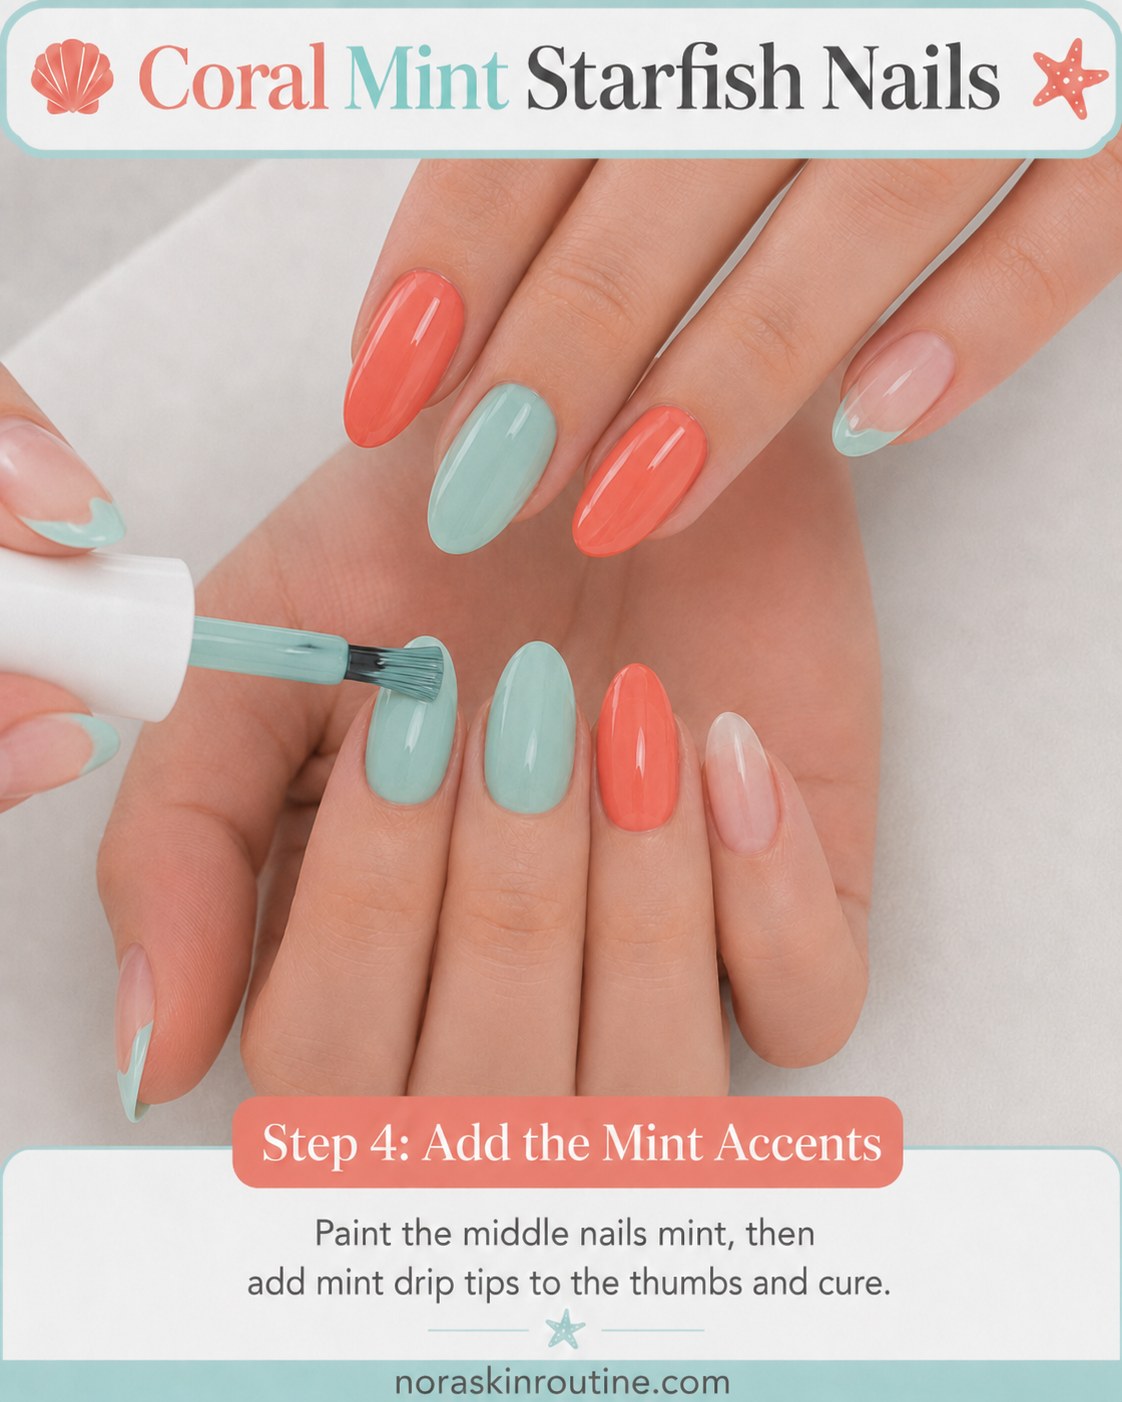
Now the palette starts to feel like a real coastal manicure. Paint the middle nails a solid mint, then add small mint drip tips at the base or edge of the thumbs before curing everything together.
The drip tip is simply a soft, slightly uneven line of mint pulled from the cuticle downward with a loaded brush, rather than a perfectly straight edge. That gentle imperfection is what makes it read as a wave or a tide line instead of a stripe.
- Middle nails: full mint coverage, same two-coat approach as the coral
- Thumb accents: pull the brush in one relaxed motion, do not overwork it
- Cure both elements together once you are happy with the shape
Paint the Pinkies to Balance the Palette
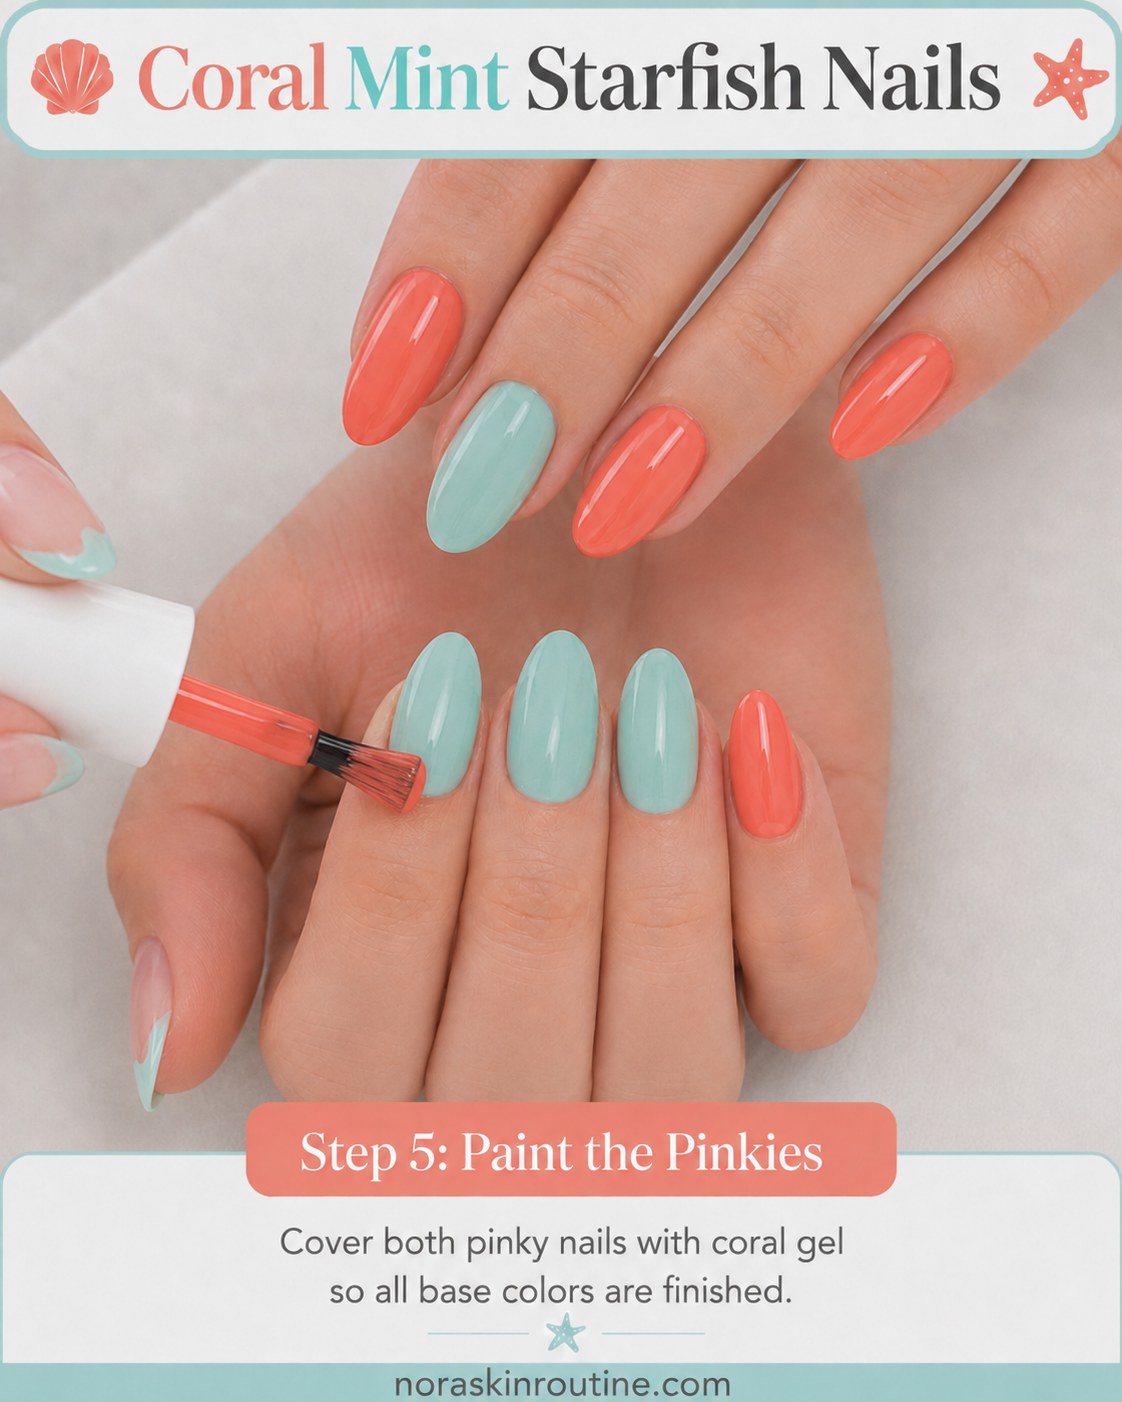
With coral and mint already established on the index, ring, middle, and thumb, the pinky nails are what round out the colour story. Cover both pinky nails fully in coral gel so that every finger now has its base colour finished.
This is a good moment to step back and look at the hand as a whole rather than nail by nail. Colour balance matters more than perfect precision at this stage, and seeing coral, mint, coral, mint, coral repeat across the hand is what gives the design its rhythm.
Check and Even Out the Finish
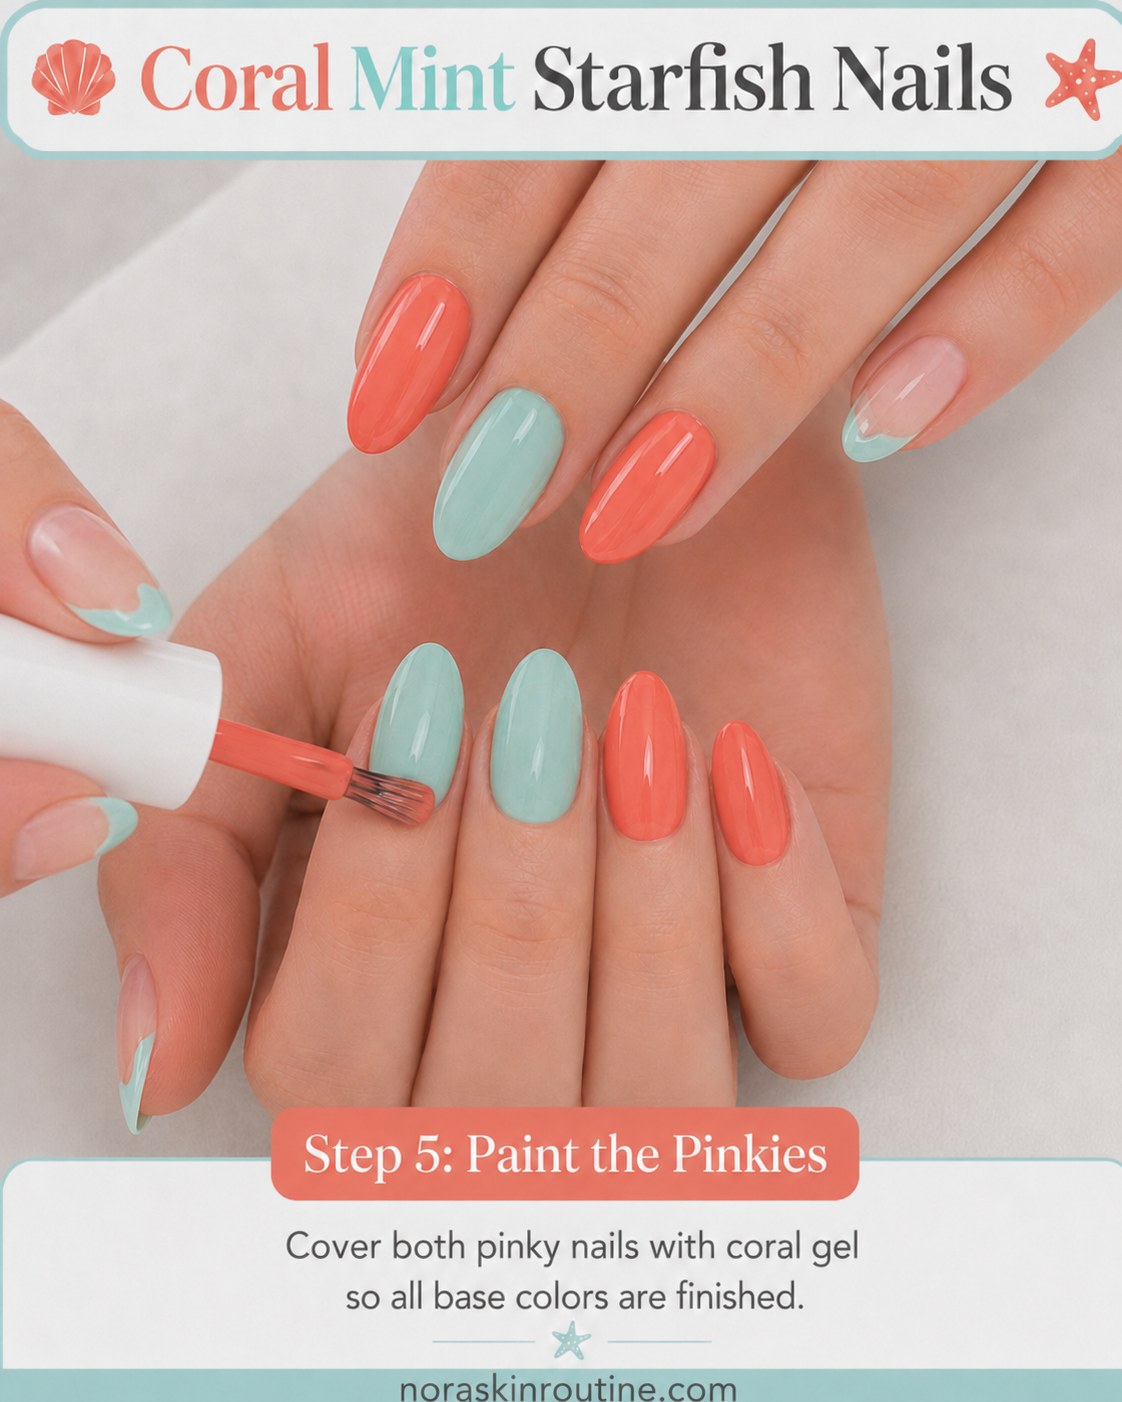
Before moving into the detail work, take a moment to look closely at opacity across every nail, especially near the cuticle line where gel tends to thin out first. If any coral or mint patch looks slightly sheer compared to its neighbour, a light extra coat now saves you from noticing it later.
Quick checks worth doing here
- Hold your hand under natural light rather than a lamp glow, it shows true opacity
- Look for any brush strokes sitting proud of the surface
- Confirm both hands are cured fully with no tacky spots
This pause between the base colours and the starfish detail is worth the extra minute, since starfish sit best on a smooth, fully opaque mint background.
Paint the Starfish With a Fine Liner Brush
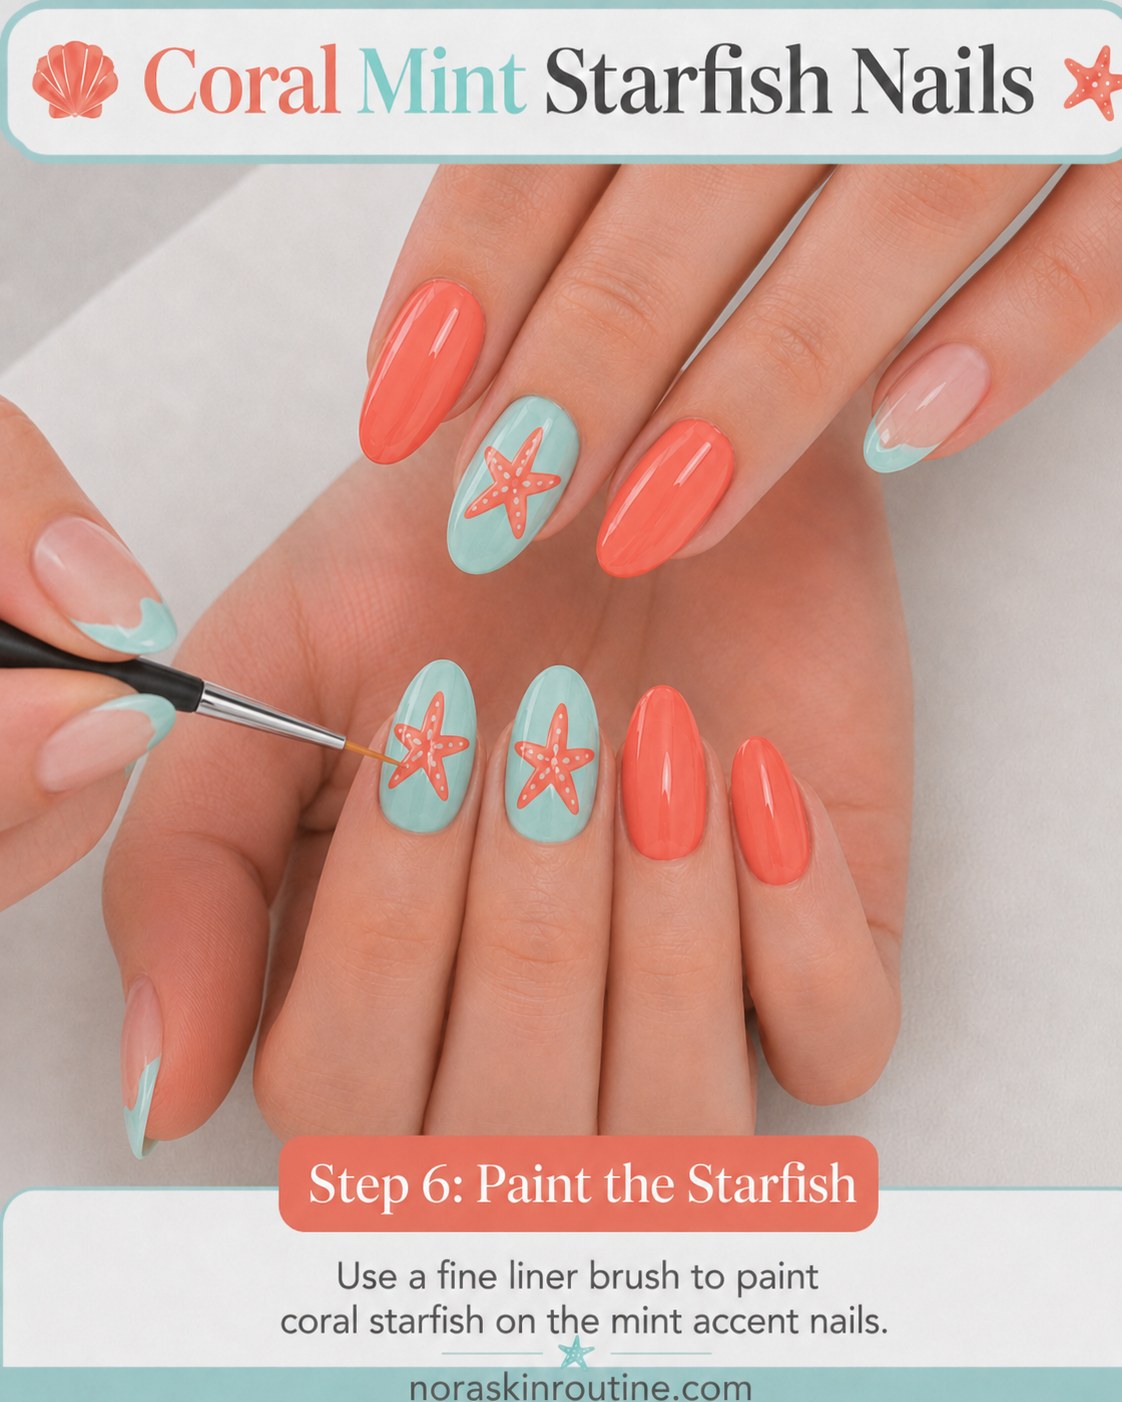
This is the step that makes coral mint starfish nails feel special rather than just a two-tone manicure. Using a fine liner brush and coral gel, paint a simple five-point starfish shape onto each mint accent nail, keeping the lines loose and slightly organic rather than geometric.
Start with a small centre dot, then pull five short, tapering lines outward from it, uneven lengths are actually more realistic here. A tiny extra line or dot along each arm gives it gentle texture without needing real skill in shading.
Freehand nail art rarely looks perfect up close, and it is not meant to. From arm's length, a slightly wobbly starfish still reads exactly as intended.
Make the Coastal Look Last
Once your starfish are cured, finish with a glossy top coat over every nail to seal the design and add shine. A thin layer here again prevents any drag on the fine liner lines you just painted.
To keep the set looking fresh, I like massaging cuticle oil in daily, it keeps the surrounding skin soft and slows how quickly the edges start to look dry. Gel sets like this one typically hold their shine and colour well for two to three weeks, though results can vary depending on how often your hands are in water or how quickly your nails grow.
Coral mint starfish nails are one of those designs that looks far more complicated in photos than it actually is once you break it down colour by colour. Take your time on the prep and the base coat, and let the starfish be a little imperfect, that is genuinely part of what makes them feel hand-painted and personal.

- Tools and Products



Common Questions
Do I need actual gel polish and a lamp for this design?
Yes, this specific method relies on gel formulas that are cured between coats, which is what gives the coral and mint their smooth, glassy finish and helps the fine liner detail stay crisp.
What if my starfish do not look symmetrical?
That is completely normal and honestly part of the charm. A slightly uneven, hand-painted starfish reads as natural rather than sloppy once the top coat is on and the nail is viewed at a normal distance.
Can I do this design with regular polish instead of gel?
You can adapt the colour placement with regular lacquer, but you will lose the durability and quick-cure smoothness shown here, and thin coats may need longer air-drying time between layers.