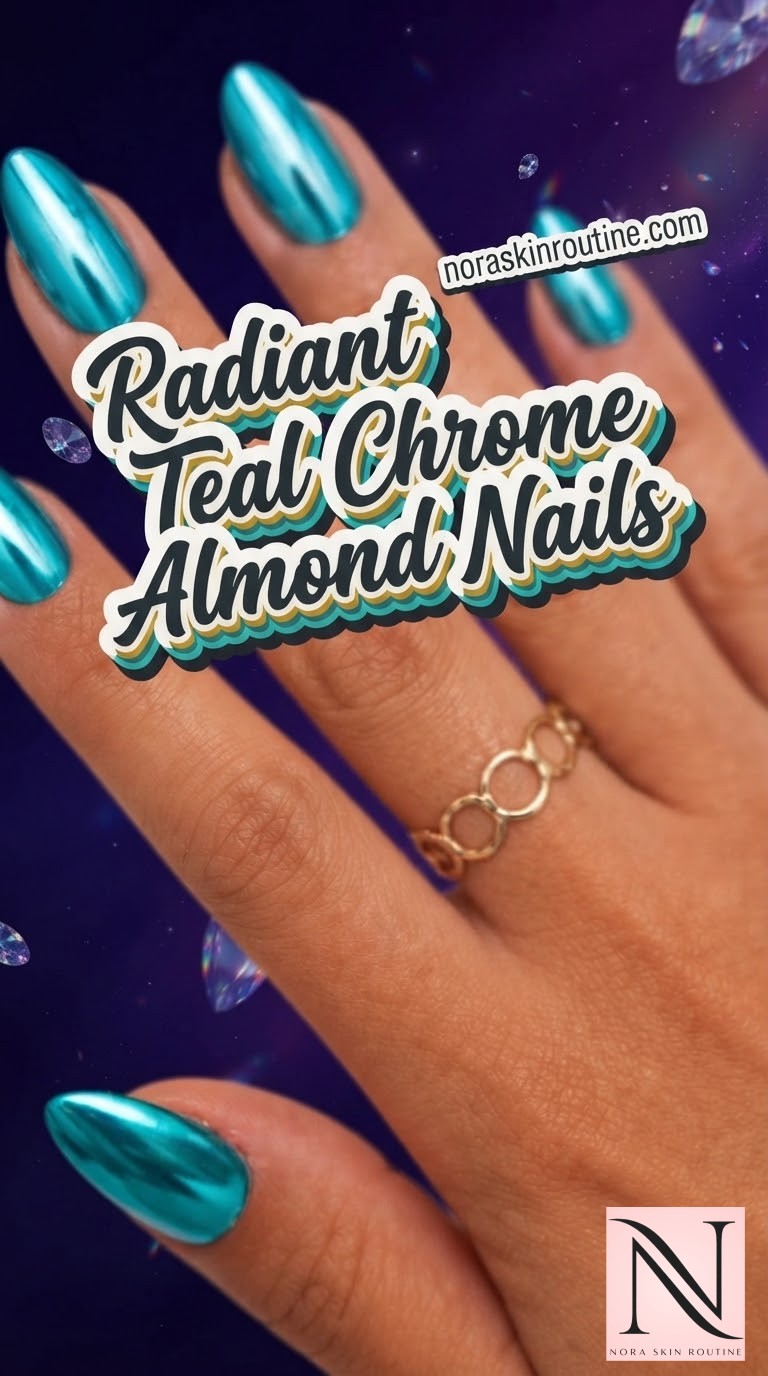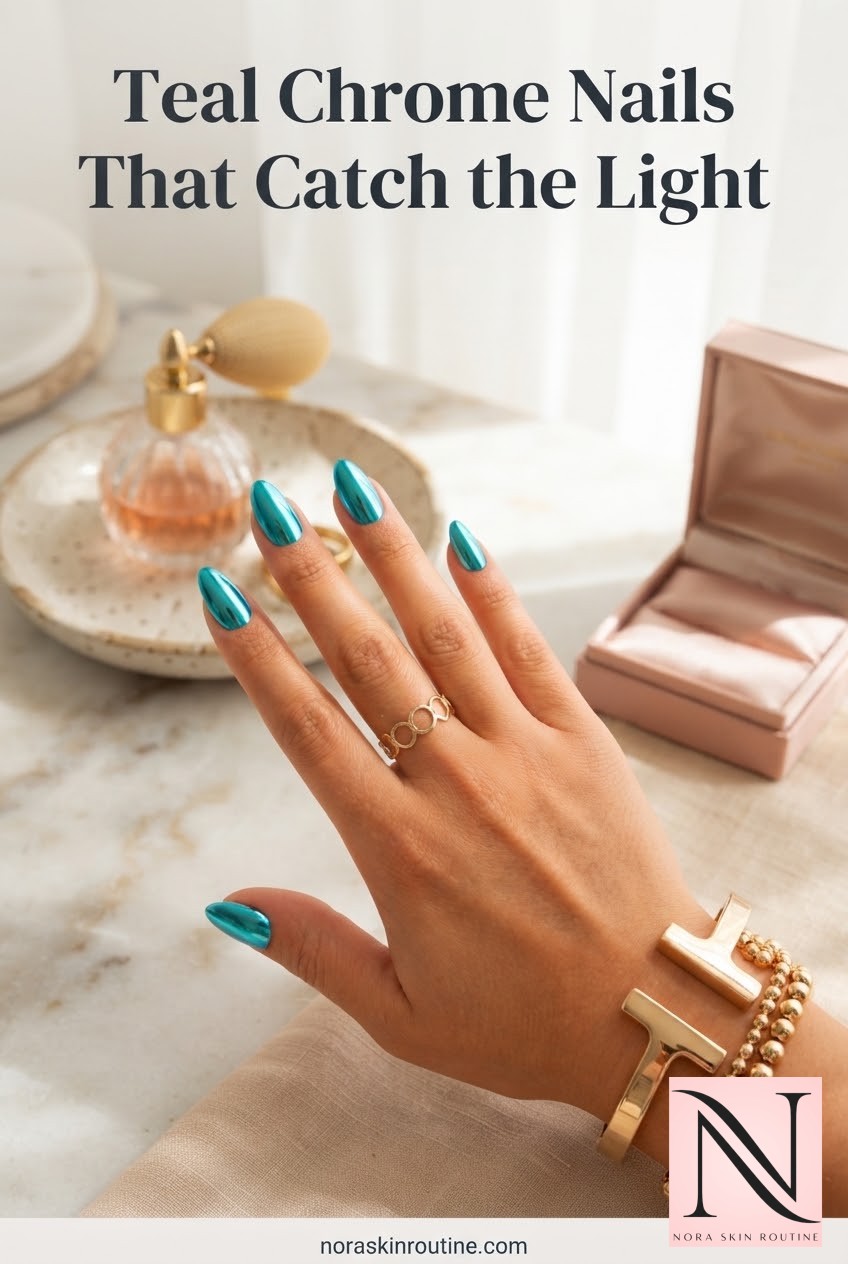
If you have been scrolling nail inspiration and keep stopping on that mirror-like metallic finish, teal chrome almond nails are one of the more achievable chrome looks to try at home, provided you have a UV lamp and a little patience for the layering. This is a proper gel system rather than a quick polish swap — base coat, two coats of teal gel, a no-wipe top coat, loose chrome powder, and a final seal. I am walking you through each stage exactly as it went in my own set, including the small details that are easy to rush and really should not be.
Start With a Clean, Oil-Free Nail
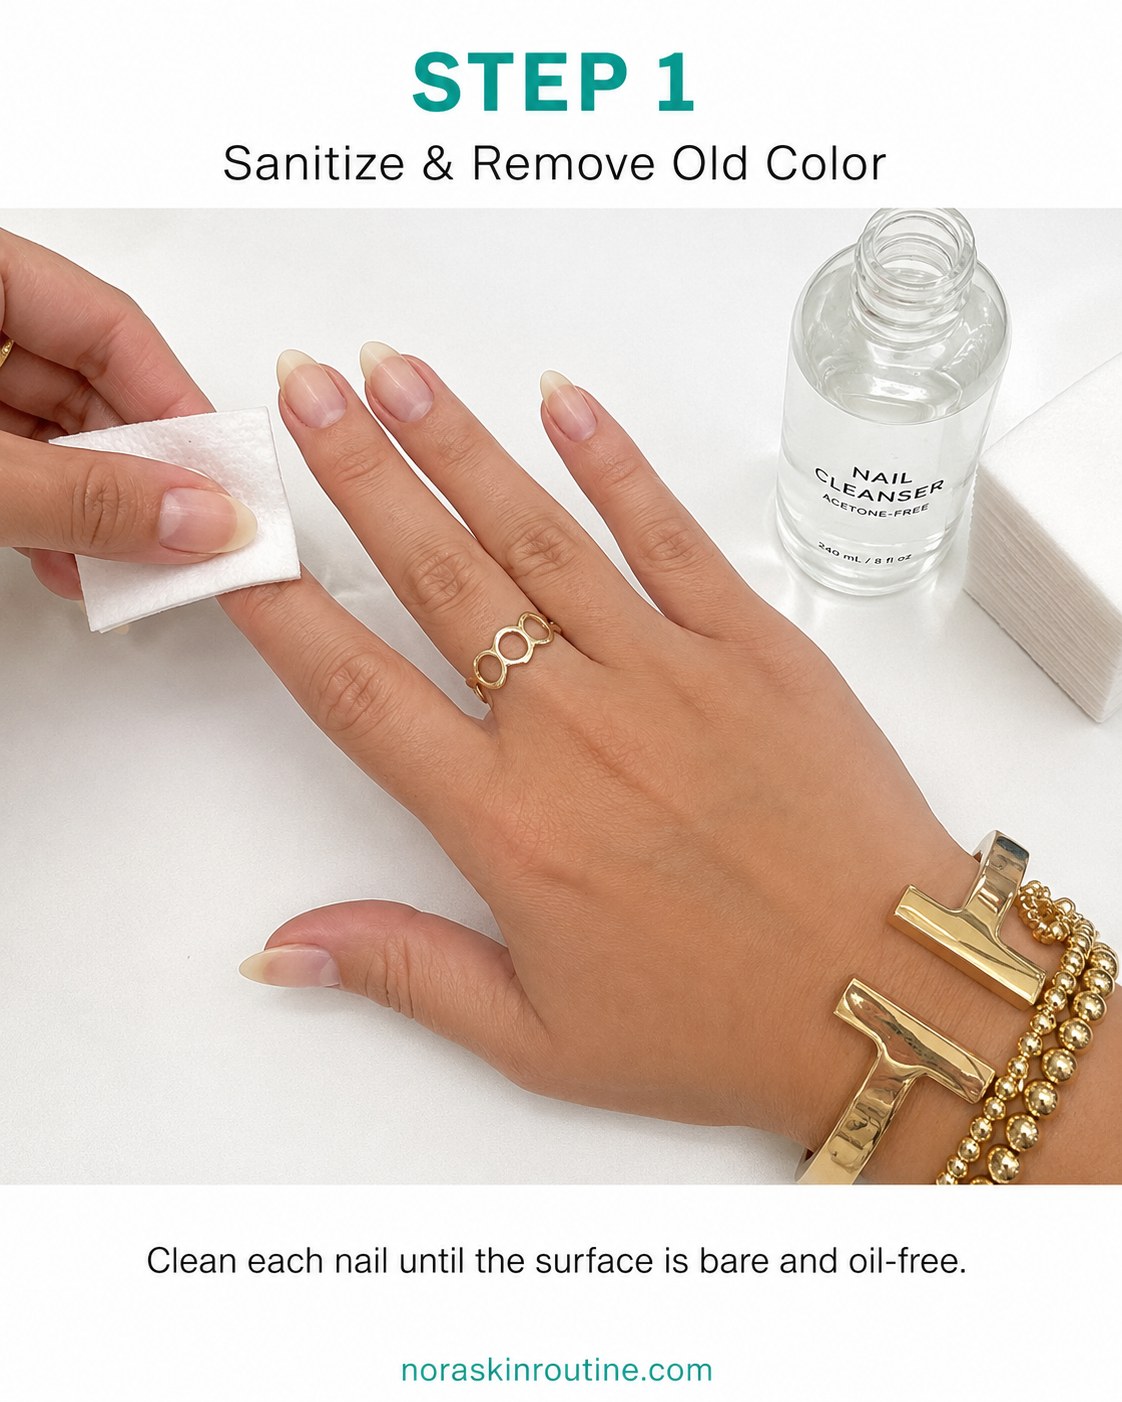
I always begin the same way, whether it is a simple nude manicure or something as reflective as this teal chrome almond nails look: with completely bare, oil-free nails. In the photo, the cotton pad glides over the nail plate to lift the last traces of old polish along with any natural oils sitting on the surface.
Skip this step and everything that follows suffers — gel polish and chrome powder both need a clean canvas to grip onto, or you will see lifting and peeling within a few days rather than weeks.
- Use an acetone-free cleanser if your nails are already dry or brittle.
- Wipe in one direction rather than scrubbing back and forth.
- Check under good light for leftover shine, which usually means residual oil.
Shape Into a Soft Almond and Tidy the Cuticles
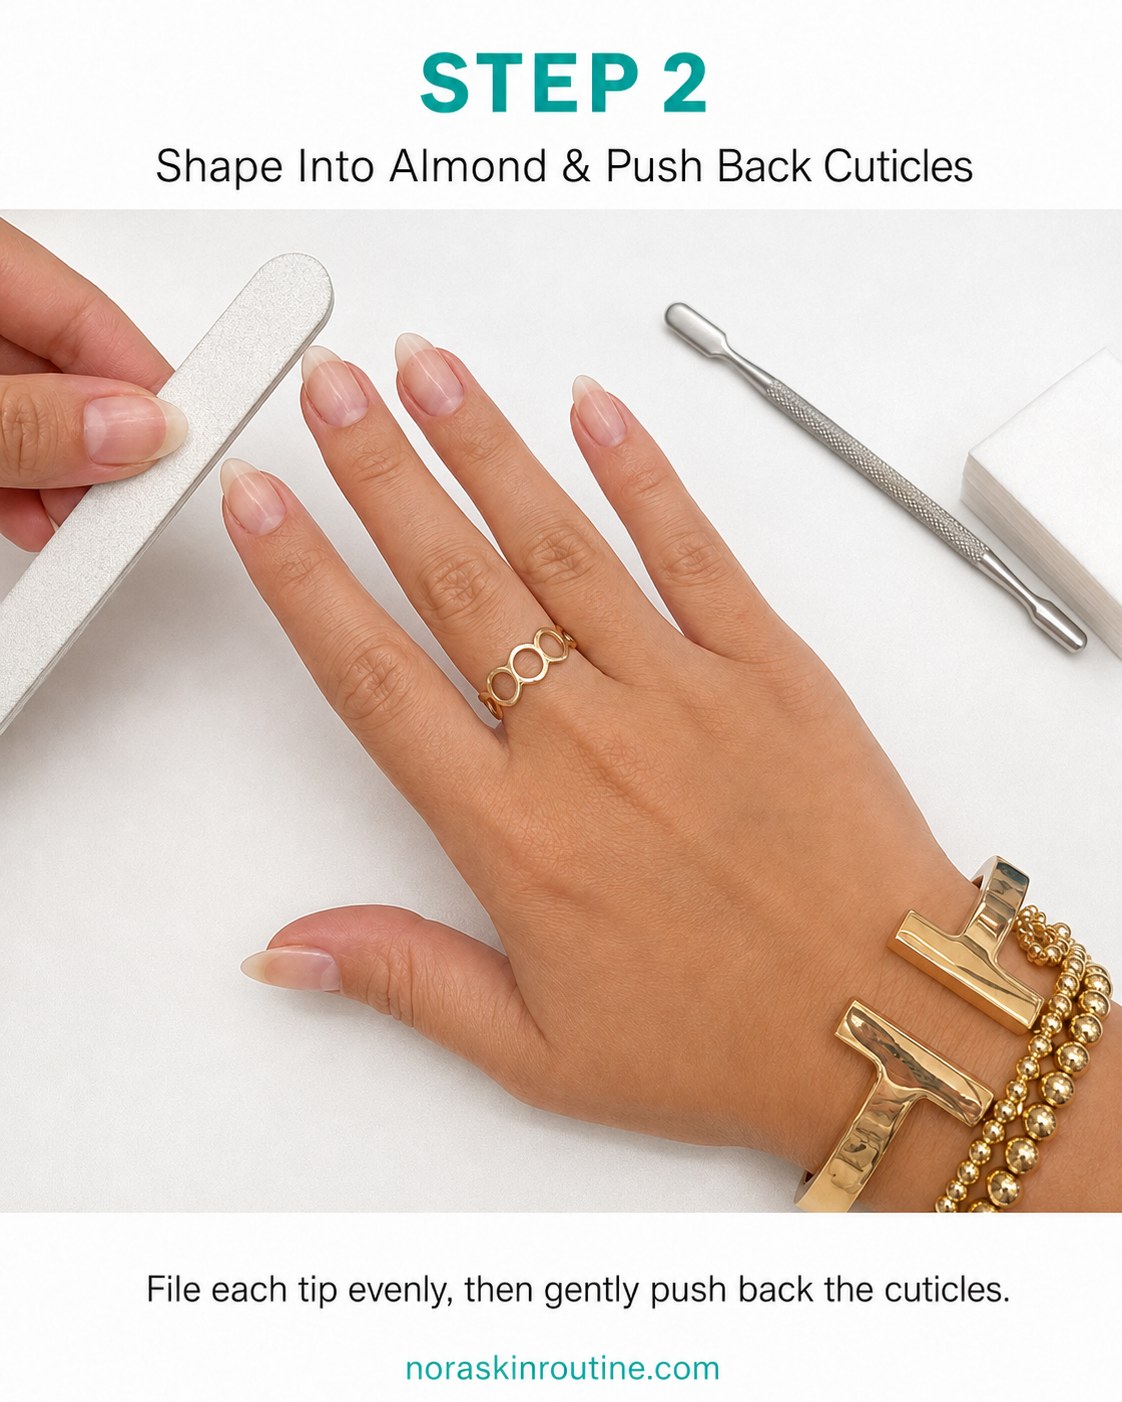
Once the nail is bare, I move on to shape. For this look I filed each tip into a soft almond — narrower at the sides, gently rounded at the tip rather than pointed. You can see the file angled along the edge in the photo, smoothing the corners so the shape reads elegant rather than sharp.
After filing, I use the cuticle pusher to gently ease back the skin at the base of each nail, never cutting or forcing it. This gives the chrome finish more clean nail surface to reflect across later.
An almond shape tends to suit most hand sizes because it visually elongates the fingers without needing much extra length.
If your nails are naturally short, a mini almond still lets the chrome effect look just as striking.
Buff, Dust Off and Prime for Grip
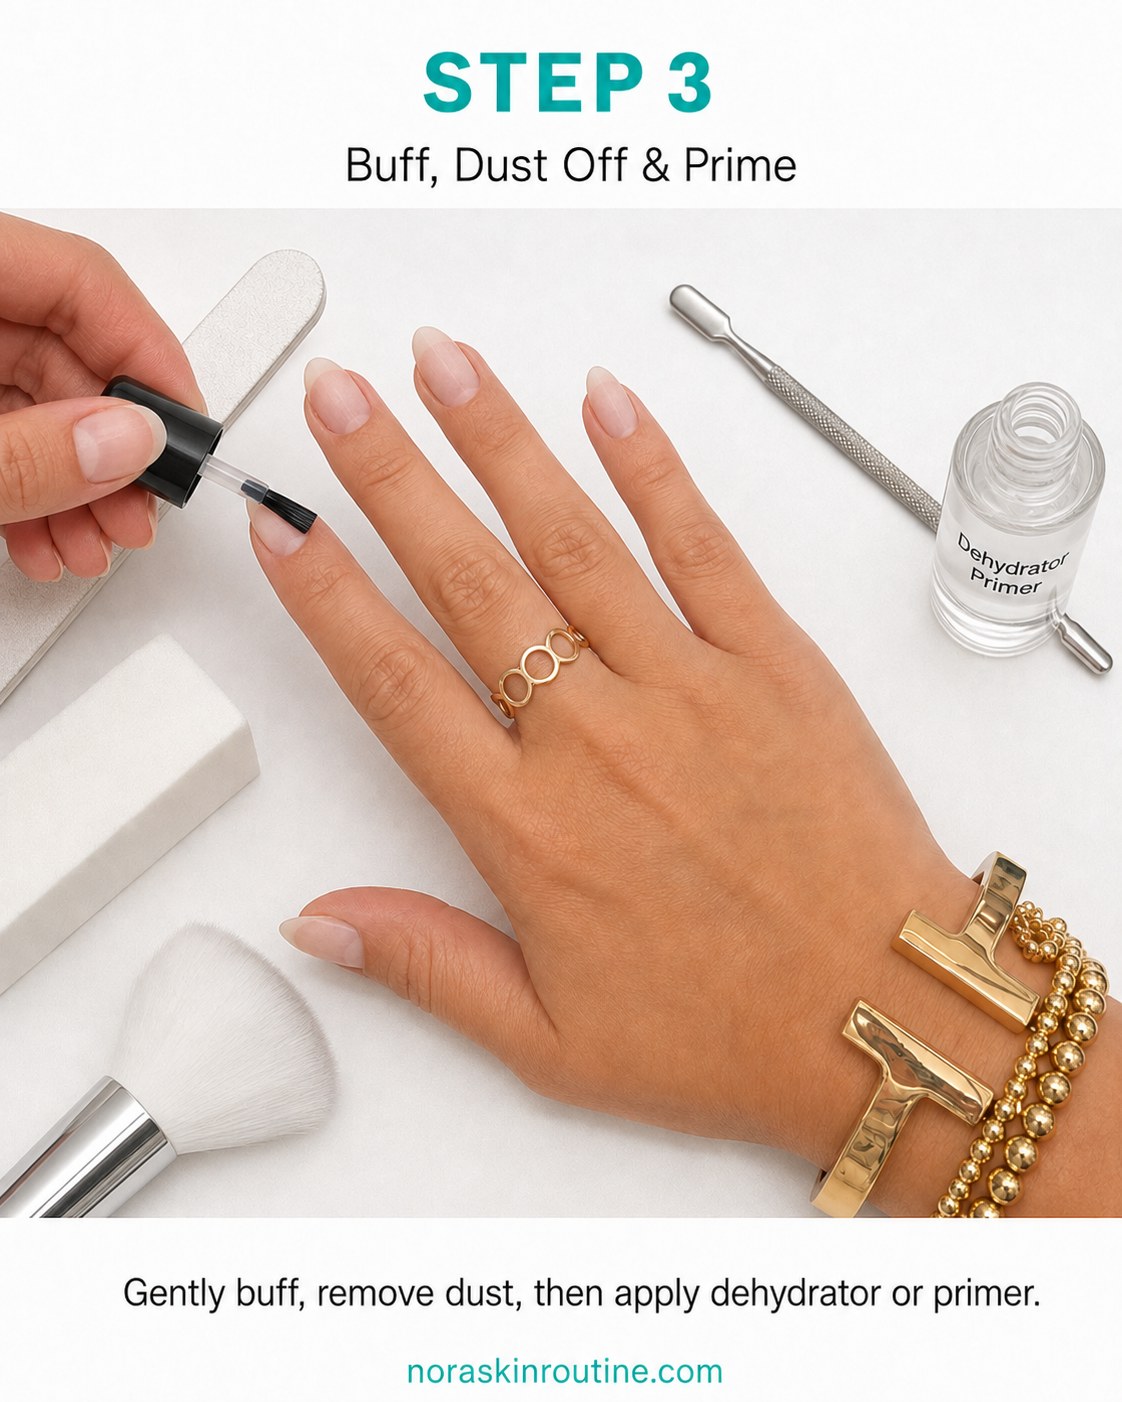
Photo three shows the buffing block making light, even passes across the nail — just enough to remove shine, not enough to thin the nail plate. Afterward, I dust off every trace of filing debris with the soft brush before reaching for the dehydrator or primer.
Why this step matters: chrome powder shows every imperfection underneath it, so a smooth, dust-free, dehydrated nail bed is what gives that mirror-like reflection later, rather than a cloudy or uneven one.
- Buff gently in one direction, a few light strokes only.
- Brush away dust with a clean fan brush, not your fingers.
- Apply primer or dehydrator thinly and let it dry briefly before the base coat.
Apply a Thin Base Coat and Cure
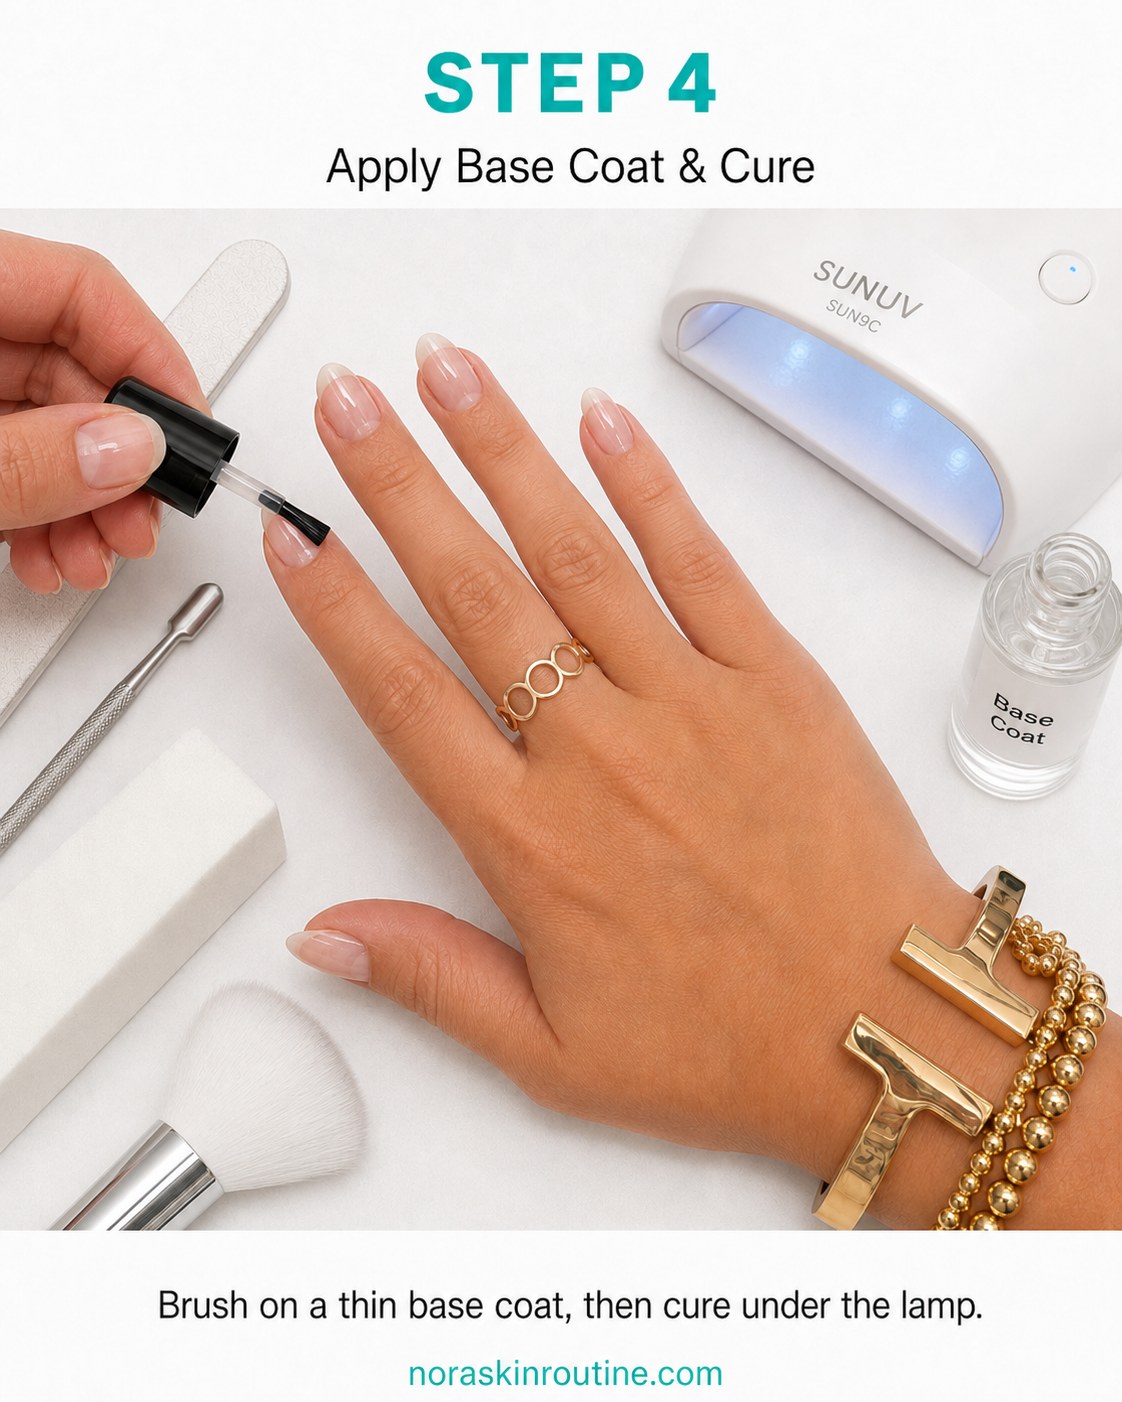
With the nail properly prepped, I brush on a thin, even layer of base coat — visible in photo four as a nearly clear coat over the almond tip — then cure it under the SUNUV lamp shown beside my hand. A base coat this sheer only needs a short cure, and I always check the lamp display rather than guessing at timing.
Curing properly at this stage is what keeps the whole gel system, from base to chrome, from lifting at the edges weeks later.
A couple of honest reminders: wipe stray polish off the skin before curing, since cured gel on skin can cause irritation, and keep the layer thin — a thick base coat can cure unevenly or wrinkle.
Apply the First Teal Coat
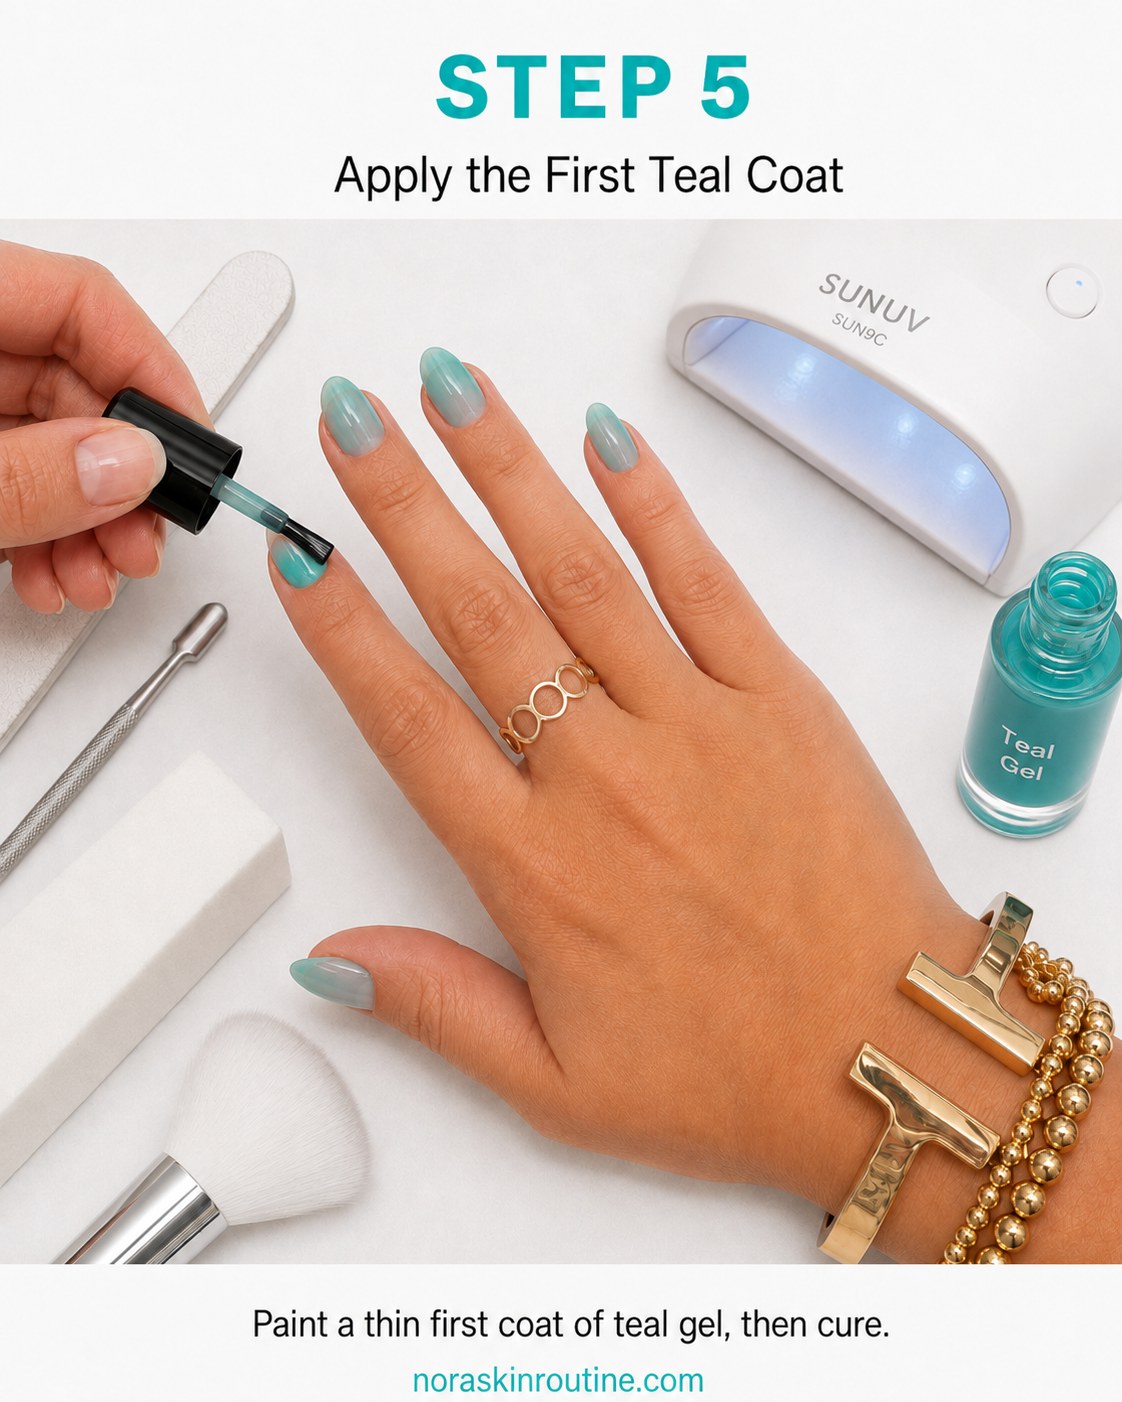
This is where the color finally shows up. In photo five, the first coat of teal gel goes on as a soft, slightly streaky sage-teal — it is meant to look uneven at this stage, almost chalky, because one coat is rarely opaque on its own.
Resist the urge to load the brush heavily to try to fix the streakiness in one go; a thin first coat cures cleanly and gives the second coat something even to grip onto.
- Cure under the lamp before moving to the next coat.
- Wipe the brush neck so polish does not pool near the cuticle.
- Keep the same light pressure across every nail for consistency.
Build Full Color With a Second Teal Coat
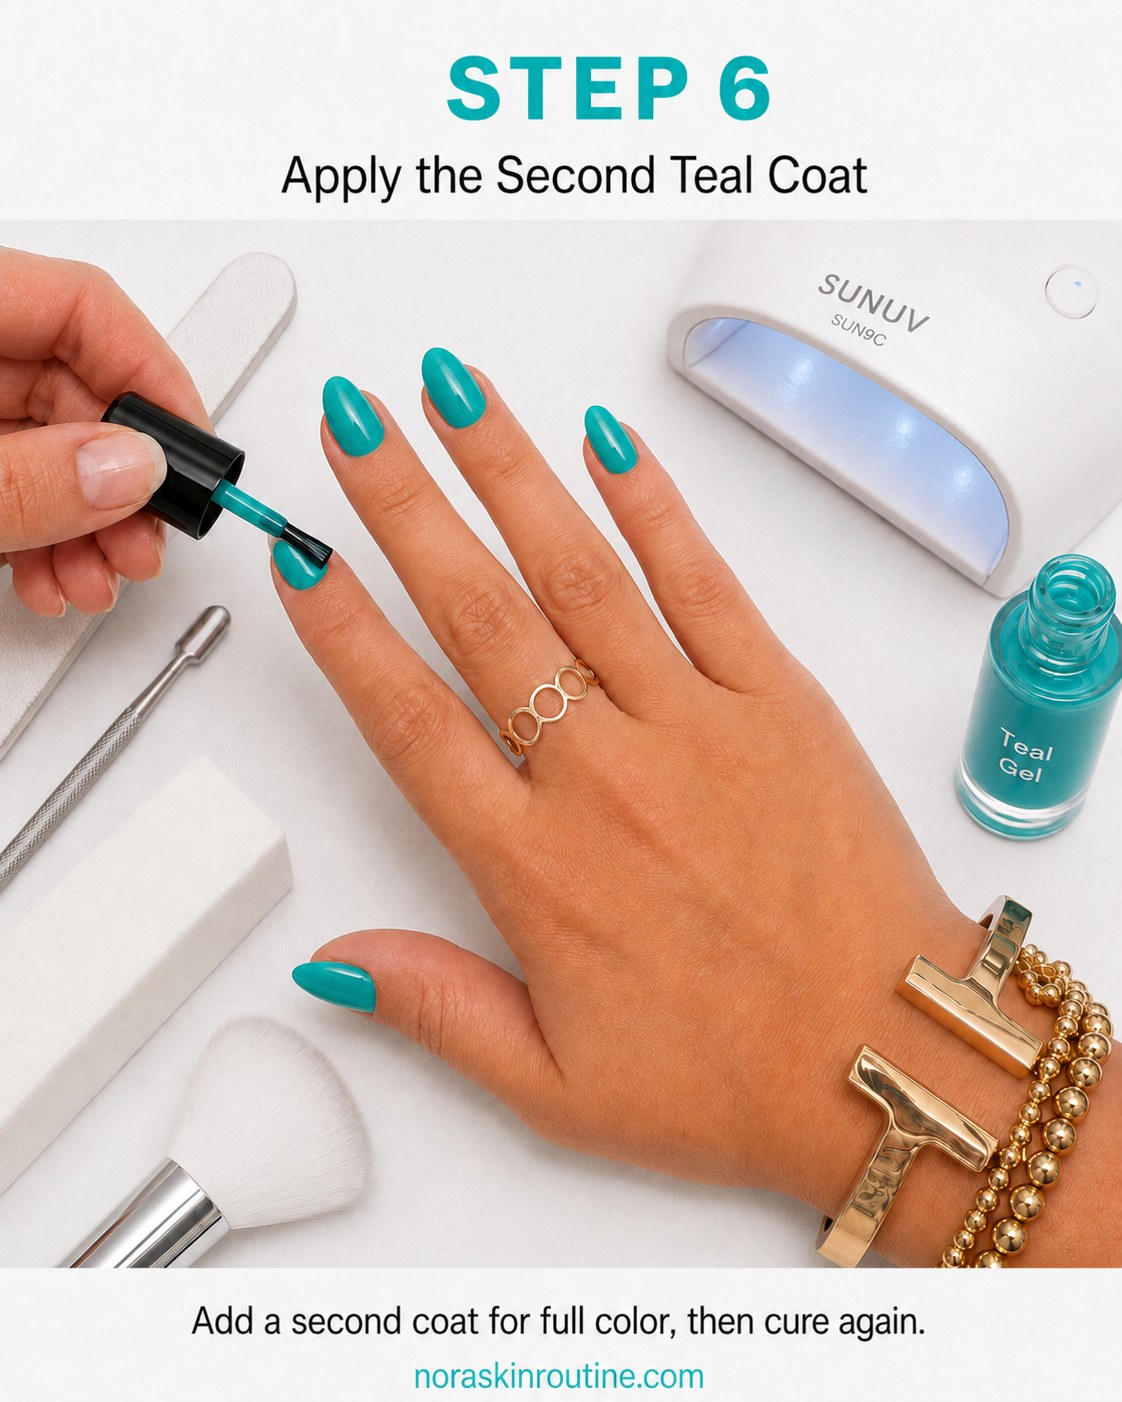
By the second coat, shown in photo six, the color has already transformed — that soft sage from before is now a rich, saturated teal with real depth, fully opaque from cuticle to tip. This is the coat doing the visual heavy lifting.
Cure again under the lamp, checking each nail from a couple of angles in natural light before moving on. Chrome powder will show through any missed patches later, so it is worth catching them now rather than after.
If a nail still looks patchy after two coats, a thin third layer is a completely normal fix rather than a mistake, and nothing to redo from the start.
Seal With a No-Wipe Top Coat
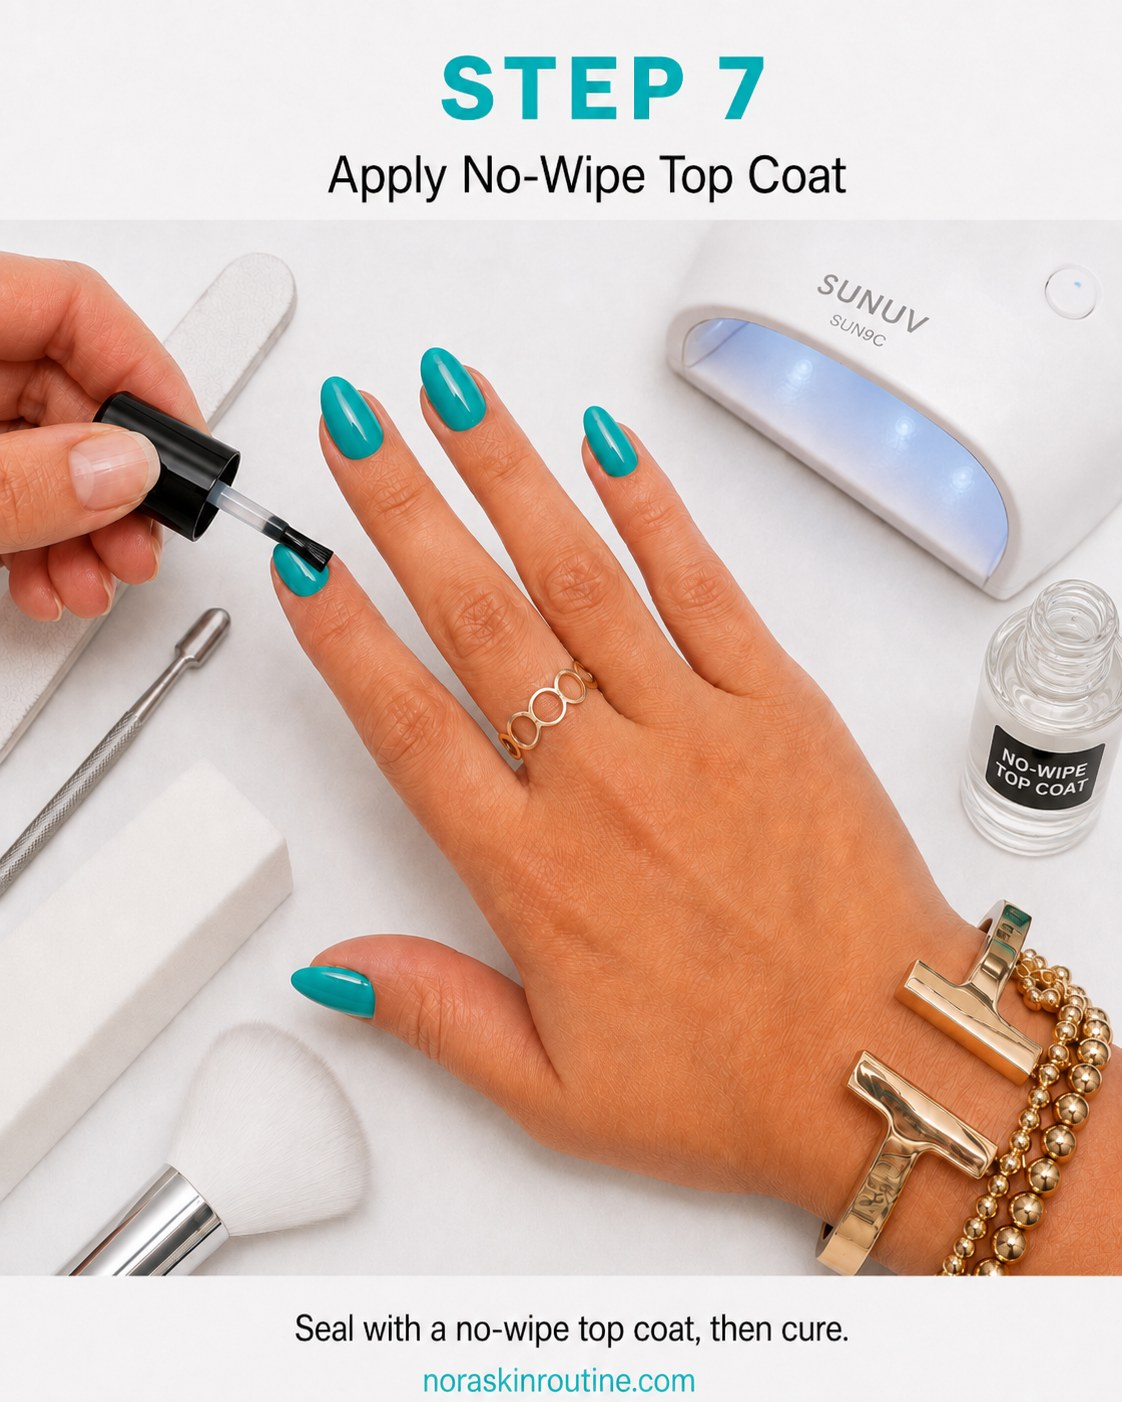
Photo seven shows the no-wipe top coat going on over the fully saturated teal — this specific formula matters for the next step, since it leaves a slightly tacky layer once cured, rather than the usual glossy finish you would normally wipe clean.
That tackiness is intentional — it is what allows the chrome powder to actually adhere and buff into a mirror finish instead of sliding straight off the nail.
A regular wipe top coat will not work here; the chrome pigment needs something slightly sticky to hold onto.
Cure it fully under the lamp before touching the nail with anything, including the chrome applicator.
Rub On the Teal Chrome Powder
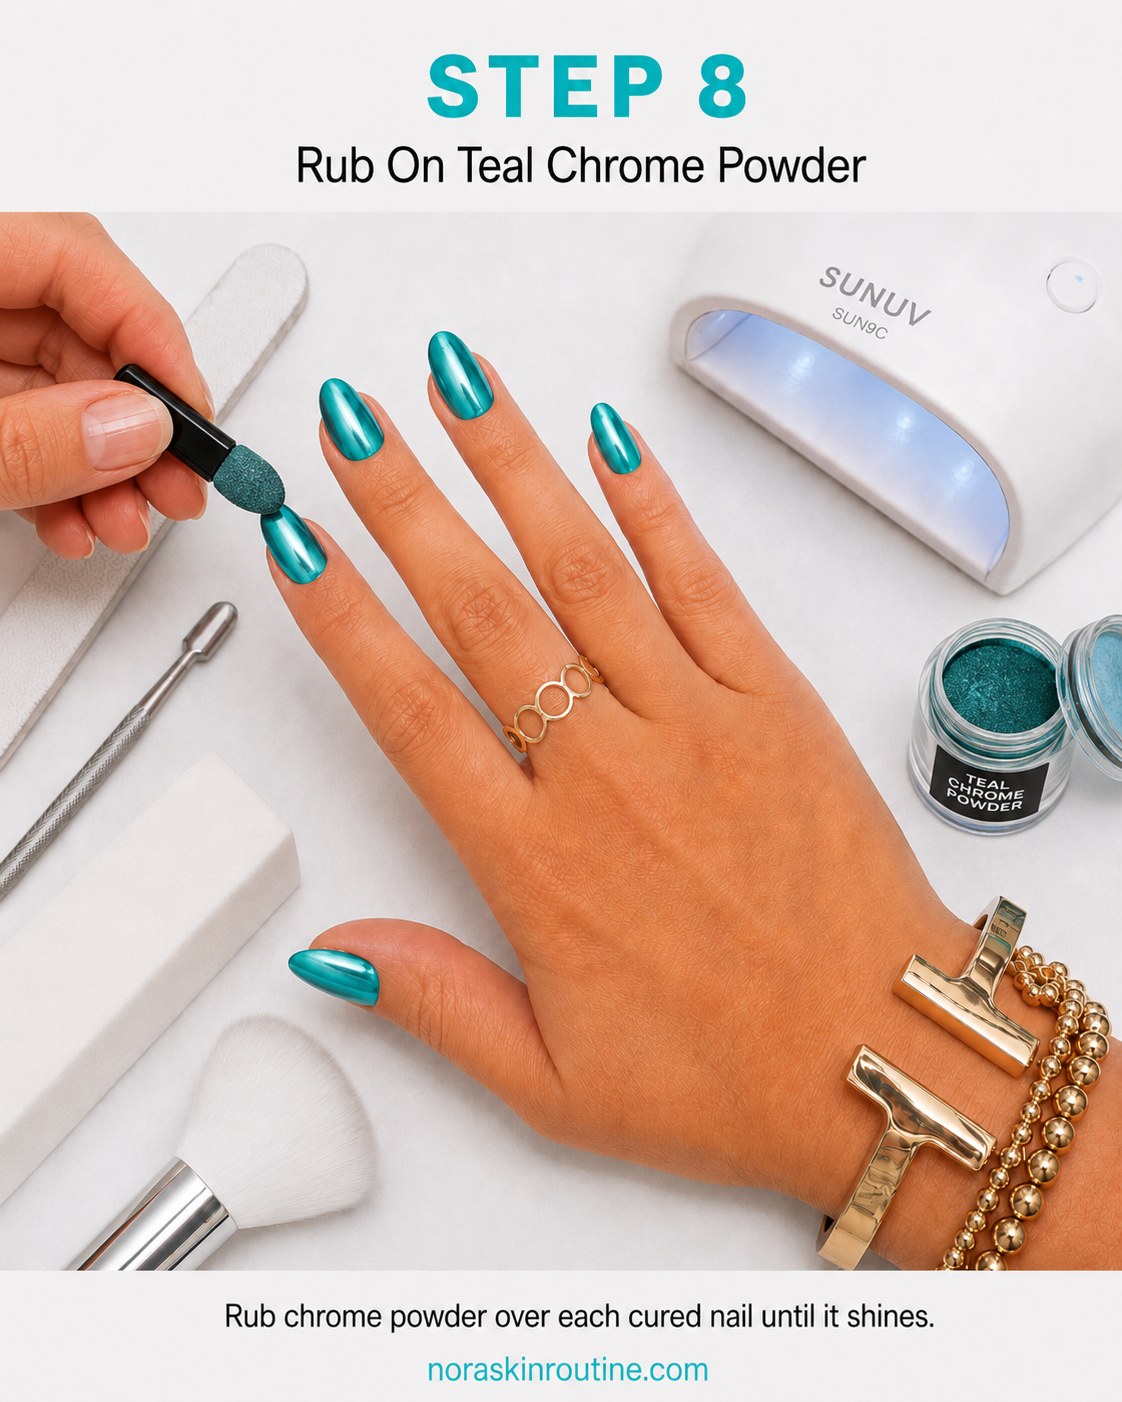
This is the step that turns a nice teal manicure into something genuinely reflective. In photo eight, the sponge-tipped applicator rubs loose teal chrome powder directly onto the tacky top coat, and you can already see the nails shifting from matte teal to mirrored metallic under the lamp light.
Small circular motions work best — press lightly and keep rubbing until the powder stops absorbing and starts reflecting light back at you instead.
- Cover the whole nail, including close to the cuticle line, for an even effect.
- Use a clean applicator per shade if you switch chrome colors often.
- Do not skip a patch — it will read as a dull spot once sealed in.
Seal the Chrome and Cure Again
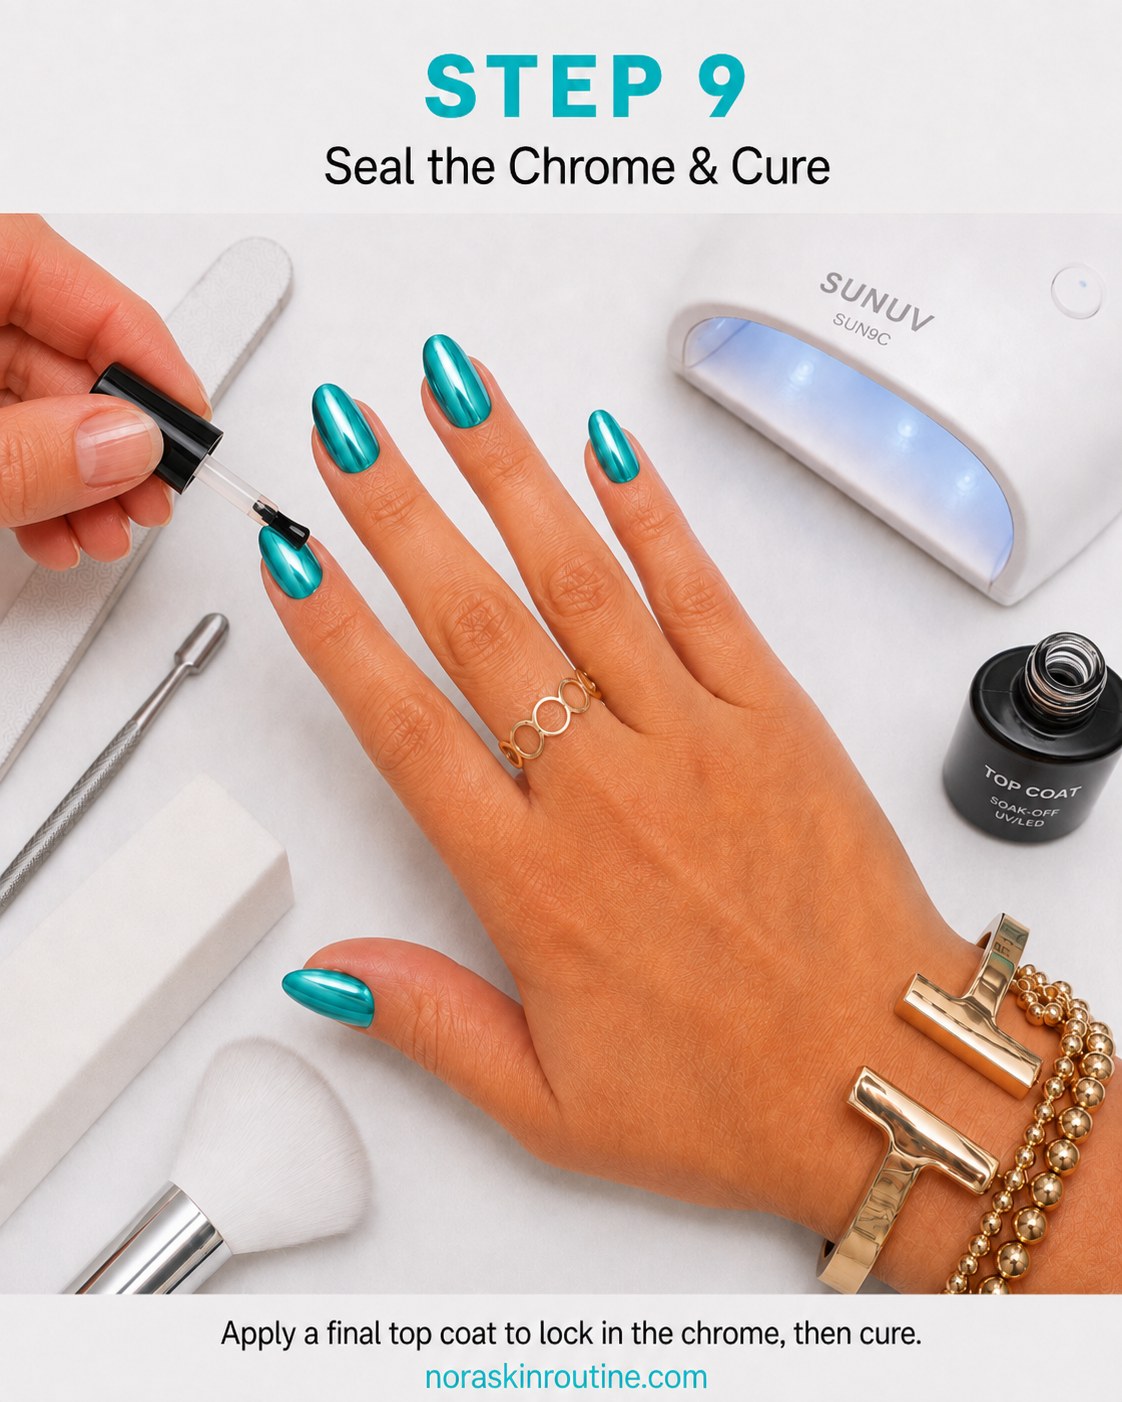
Chrome powder on its own is delicate and can rub off at the lightest touch, so photo nine shows the final top coat being brushed on carefully to lock the shine in place. I keep the strokes light here, since pressing too hard can drag the loose pigment and leave streaks in the mirror finish.
Cure this last layer fully under the lamp — it is the real difference between chrome that survives daily hand-washing and chrome that dulls within a day or two.
Once cured, the nail should feel completely smooth to the touch, with no grit, tackiness, or loose pigment left on the surface.
The Finished Teal Chrome Almond Look
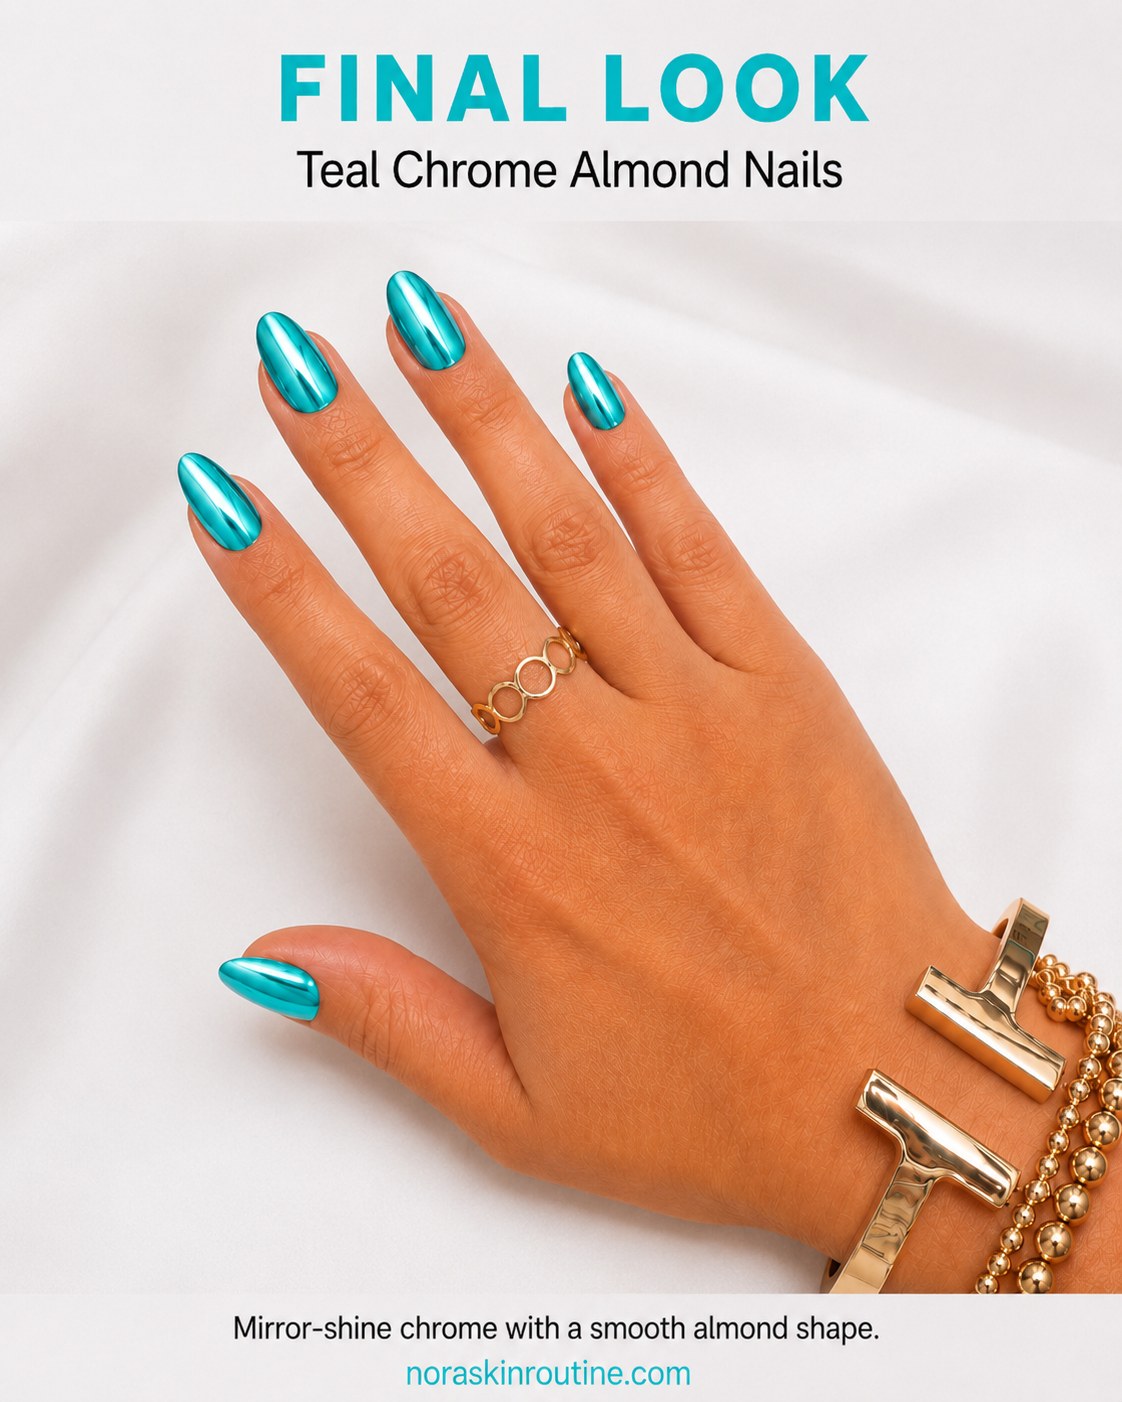
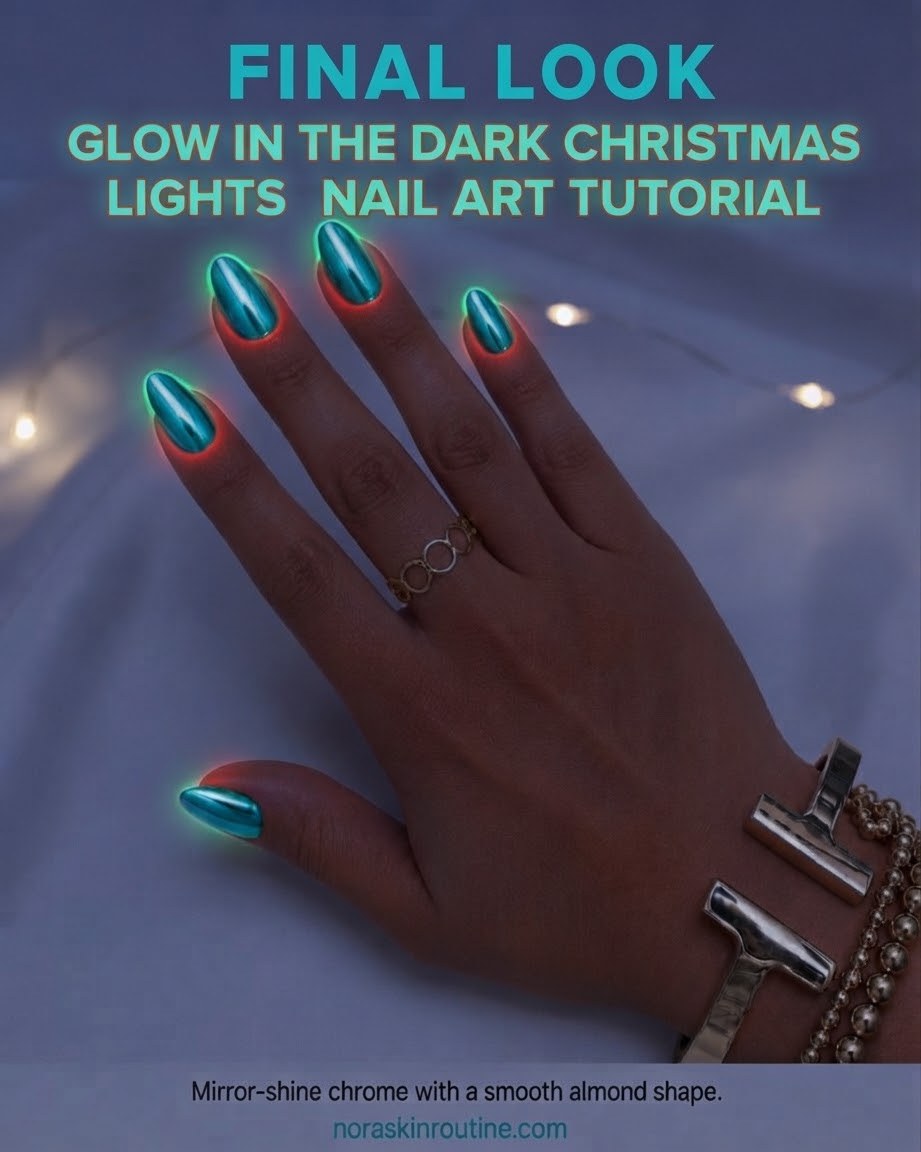
The finished set in photo ten is exactly what this whole process was building toward: a smooth almond shape wrapped in a deep, mirrored teal that catches light differently depending on the angle you hold your hand at. It sits somewhere between a classic manicure and a piece of jewelry.
This finish photographs beautifully, but it also holds up well in daily life once fully cured, which is often the bigger test for any nail trend beyond the first photo.
If teal is not quite your color, this same nine-step method works with almost any chrome powder shade — the process stays identical, only the bottle in your hand changes.
There is something satisfying about watching a plain, bare nail turn into that mirrored teal by the final step — it looks far more complicated in photos than it actually is to do at home, one thin layer at a time. If you try it, give each cure step the time it actually needs rather than rushing on to the next coat.




Frequently Asked Questions
Do I need a UV lamp for teal chrome almond nails?
Yes, this method relies on gel polish and gel top coats, which only fully harden under UV or LED light. The SUNUV lamp shown here is a common at-home option, and each layer needs its own short cure before you move on to the next.
Why does my chrome powder look patchy instead of mirror-like?
This usually happens when the top coat underneath was not left tacky enough, either because it was a wipe formula instead of a no-wipe one, or because it was not fully cured before the powder went on.
How long does a teal chrome manicure usually last?
With a proper gel base, two color coats, and a well-cured sealing top coat, this kind of finish can often hold up for two to three weeks before regrowth or dulling becomes noticeable, though results vary with how much your hands are in water.