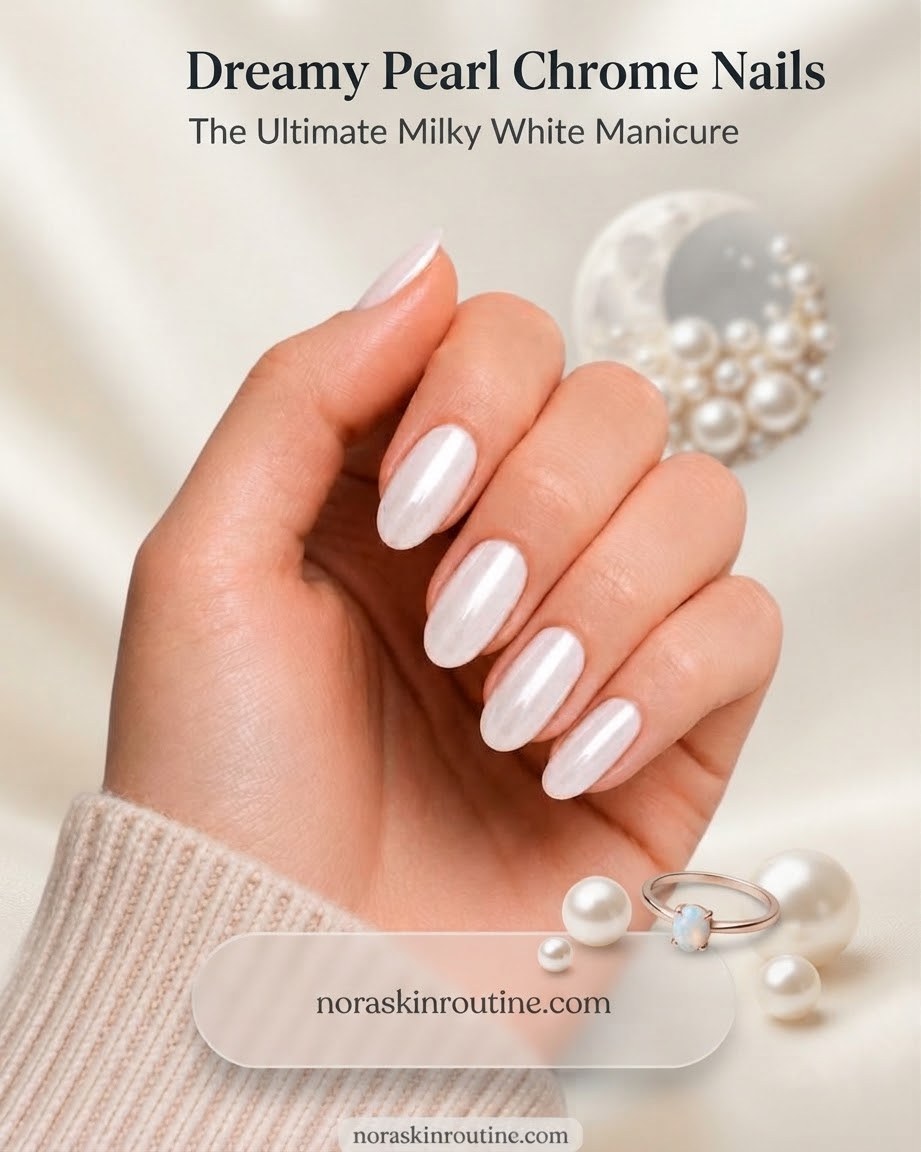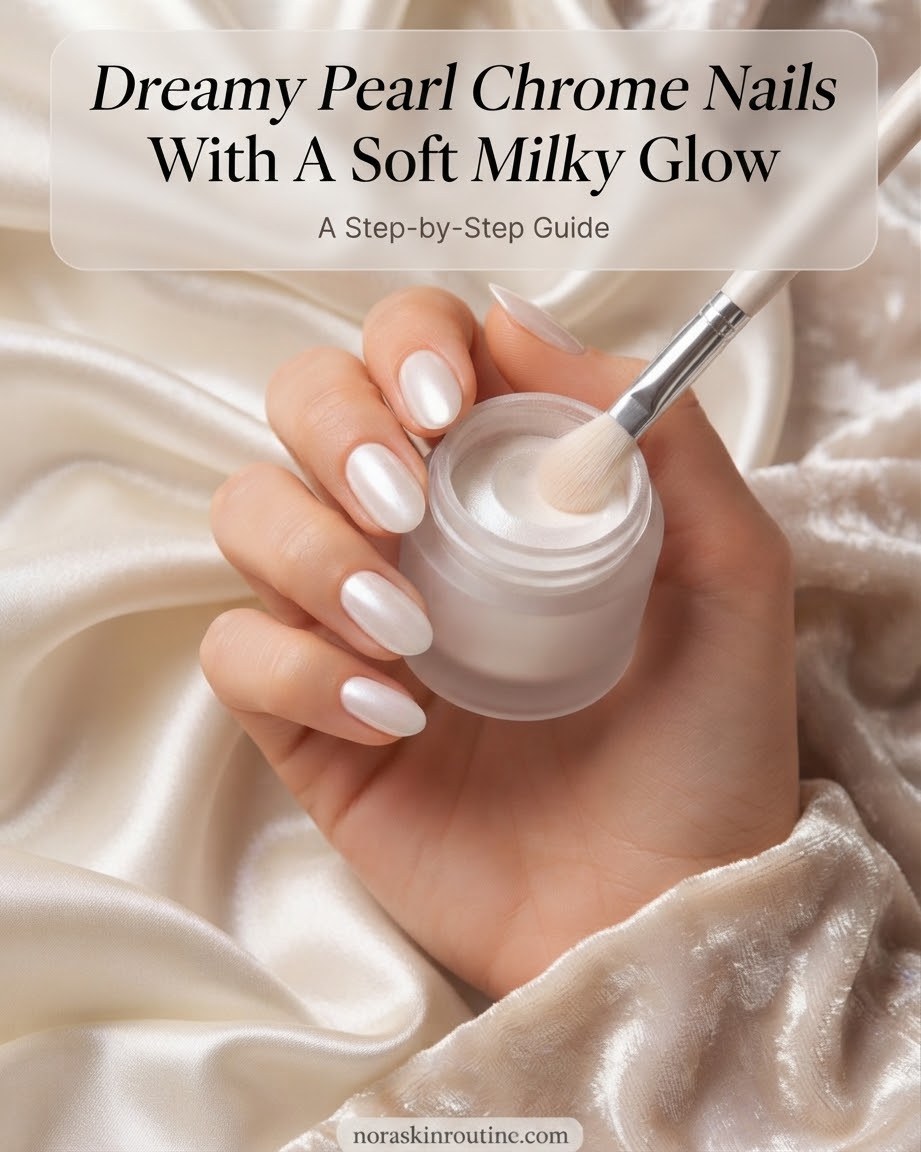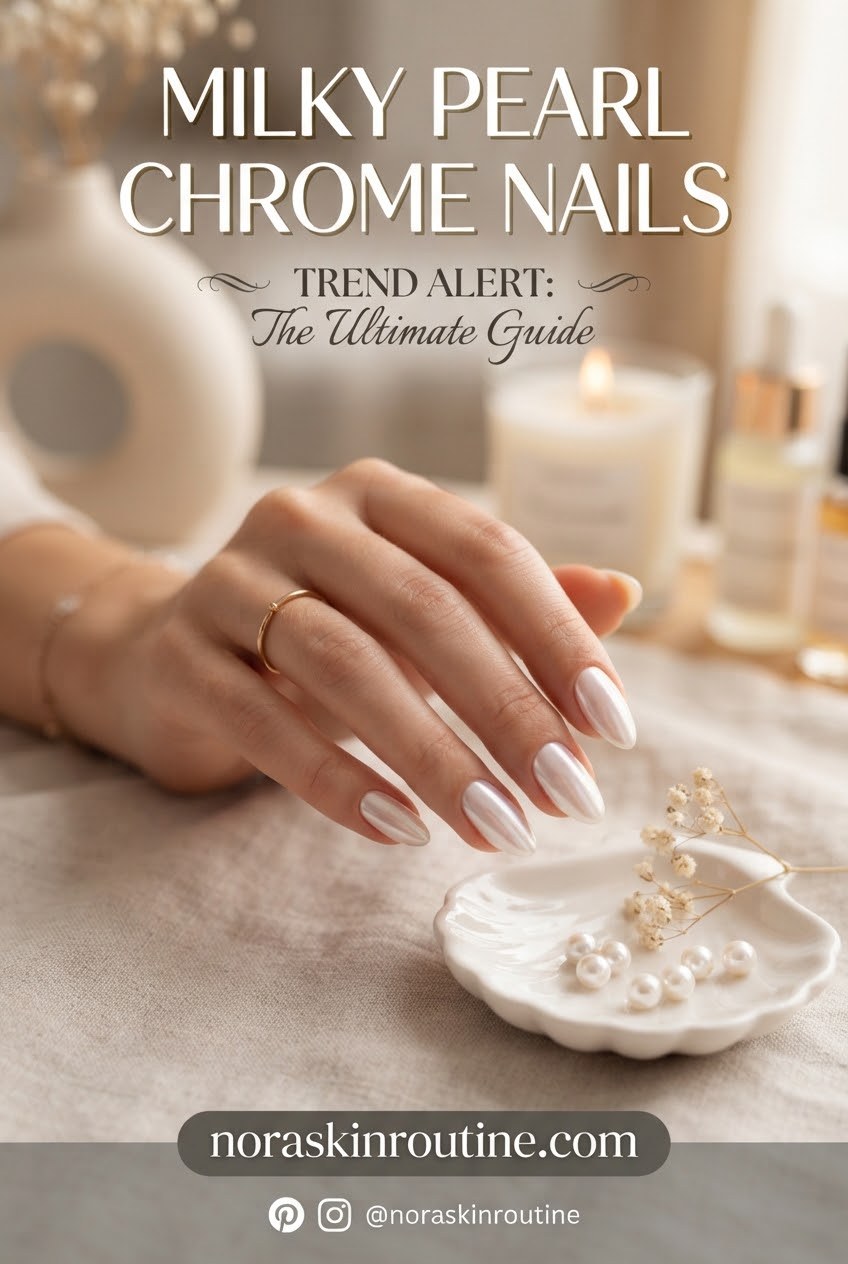
Pearl chrome nails have become one of my favourite things to paint on quiet evenings, mostly because they look far more polished than the effort actually required. Instead of a bold metallic mirror finish, this technique uses a milky white gel base and a soft pearl powder buffed on by hand, which gives the nail a gentle, almost moonstone-like shimmer rather than a hard chrome shine. I photographed every stage of this manicure at my own little station, so you can see exactly how the finish builds up, coat by coat, right through to the glossy result. If you enjoy minimalist nail designs but want something with a bit more dimension, this one is worth setting aside an evening for.
Shape the Nails Into a Smooth Almond
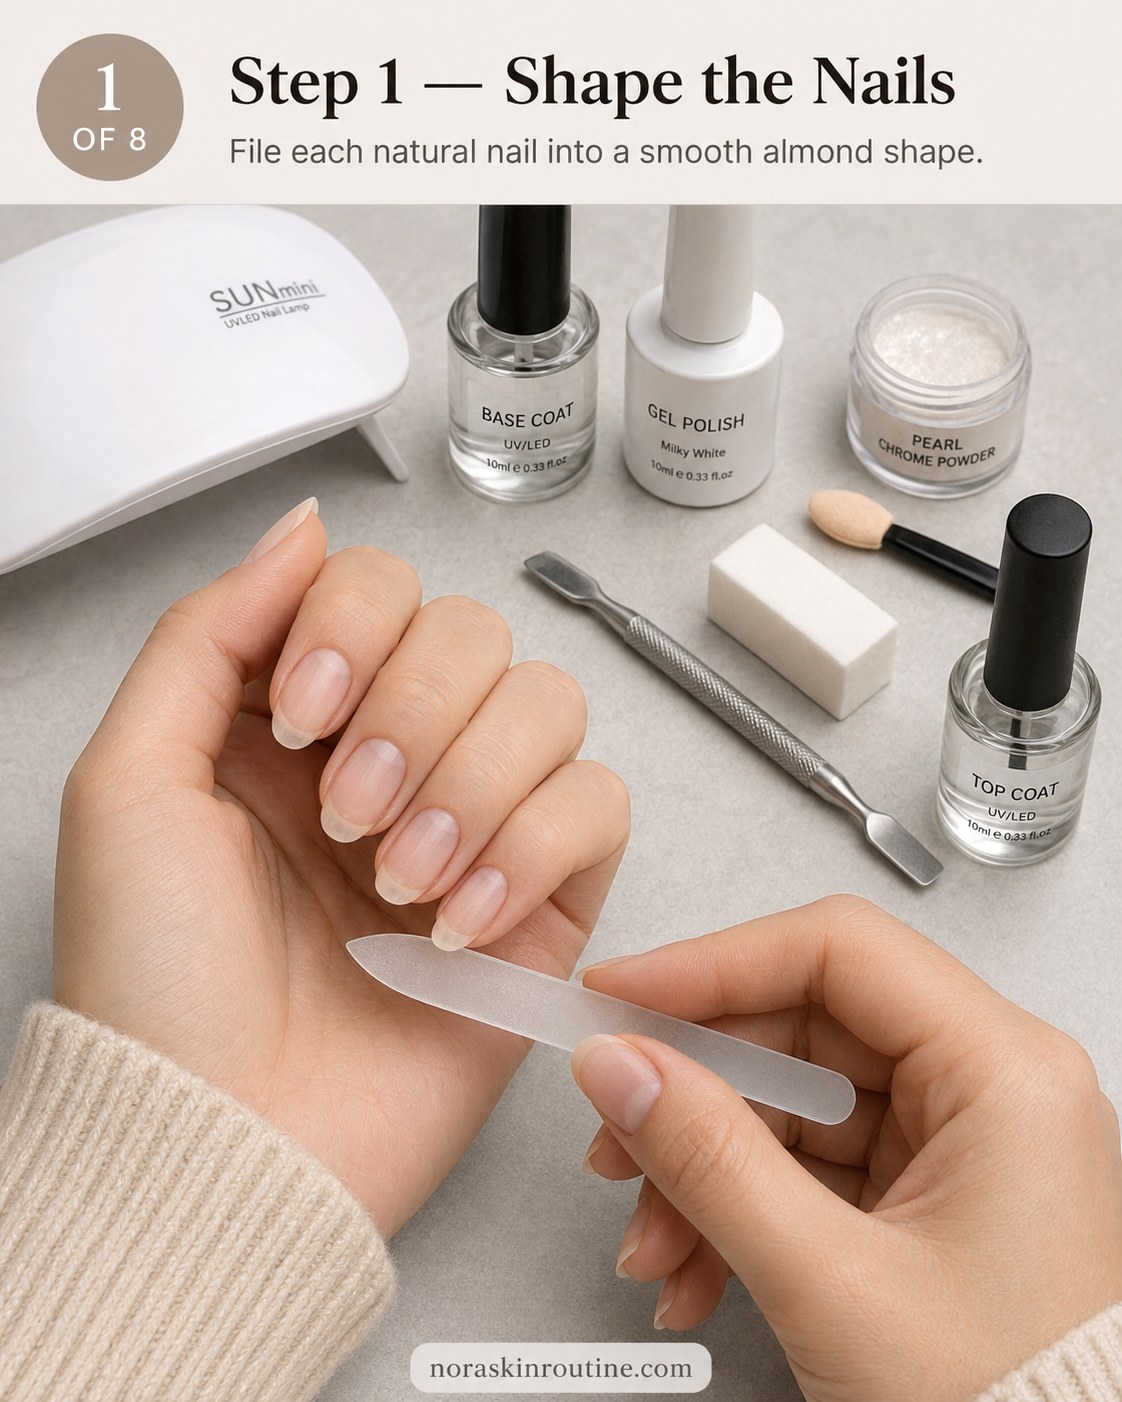
Every long-lasting manicure starts with the shape, and I always file before I touch a single bottle of polish. In the photo you can see a glass nail file being used in one direction across each tip to ease the natural nail into a smooth almond shape, rounding the corners slightly so nothing catches on knitwear or bedsheets later.
- Work dry nails only — filing wet nails can cause splitting and rough edges.
- Match both hands by checking the shape from above, not just from the side.
- Keep length even across all ten nails before moving on to prep.
If your nails are naturally short, you can still create a soft almond taper at the free edge without adding length — it is the tip shape that reads as almond, not the length itself.
Push Back Cuticles and Buff for Adhesion
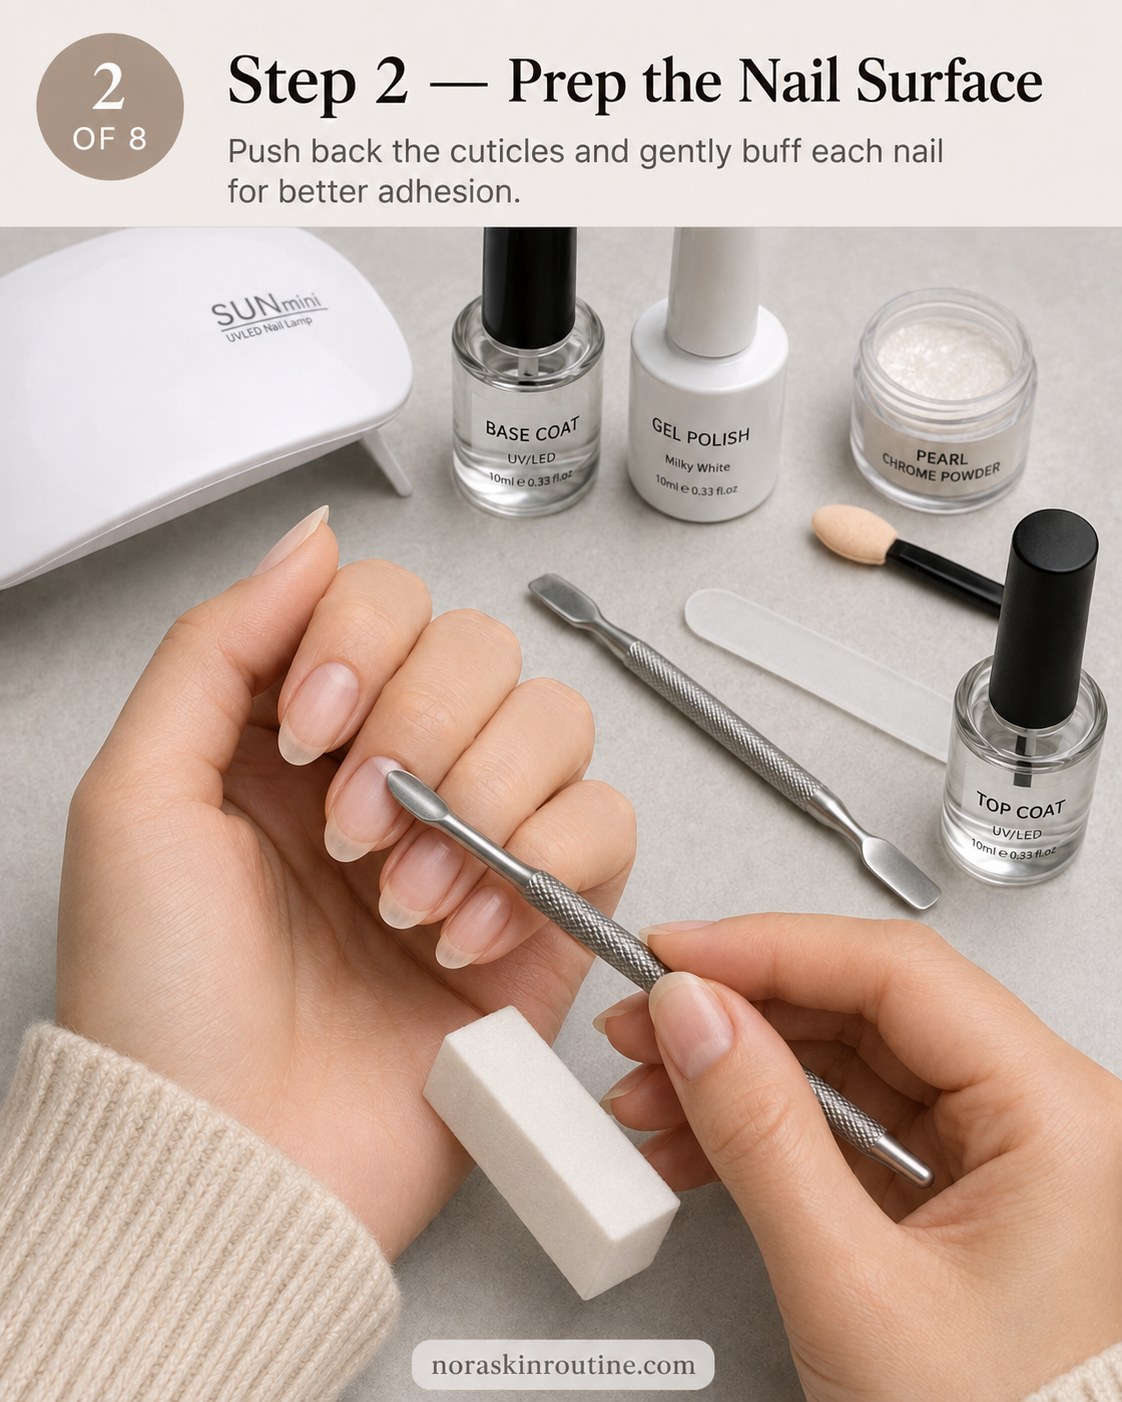
This is the step people skip, and it is usually the reason a manicure lifts within a few days. Using the metal cuticle pusher shown in the photo, gently ease the cuticle back off the nail plate, then take the fine side of the buffer block and lightly matte the shine across each nail.
In my editorial experience, adhesion problems are almost always a prep problem, not a product problem.
You are not trying to remove layers of the nail, just dull the natural shine so the base coat has something to grip. A few light passes is enough; over-buffing can leave the nail thin and sensitive. Wipe away any dust before moving on so the base coat goes down clean.
Apply a Thin Base Coat and Cap the Tips
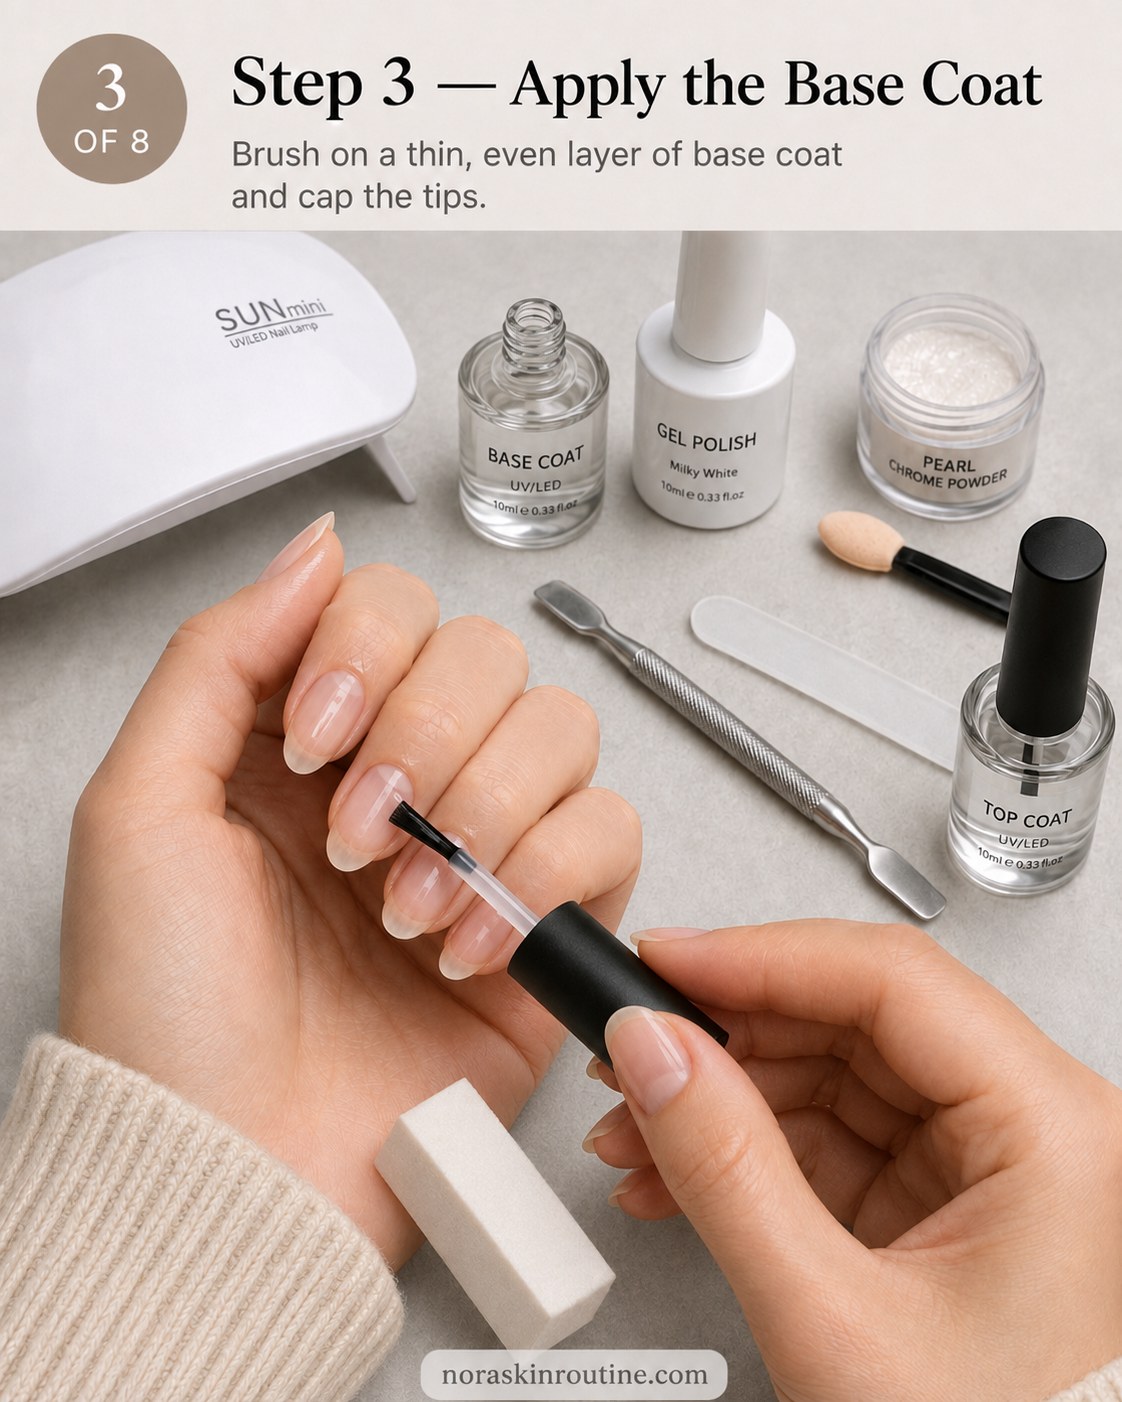
With prep done, brush on a thin, even layer of base coat, pulling the brush right over the free edge to cap the tip of the nail — this small habit alone can add real days to how long a manicure lasts, since it seals the edge where water and friction usually cause lifting first.
- Load a small amount of product on the brush; too much pools at the cuticle line.
- Apply in three light strokes: centre, then each side.
- Cure each hand under the UV/LED lamp before moving to the next step.
Keep the layer thin here. A thick base coat takes longer to cure fully and is more likely to shrink or wrinkle slightly under the lamp.
Paint the First Milky White Coat
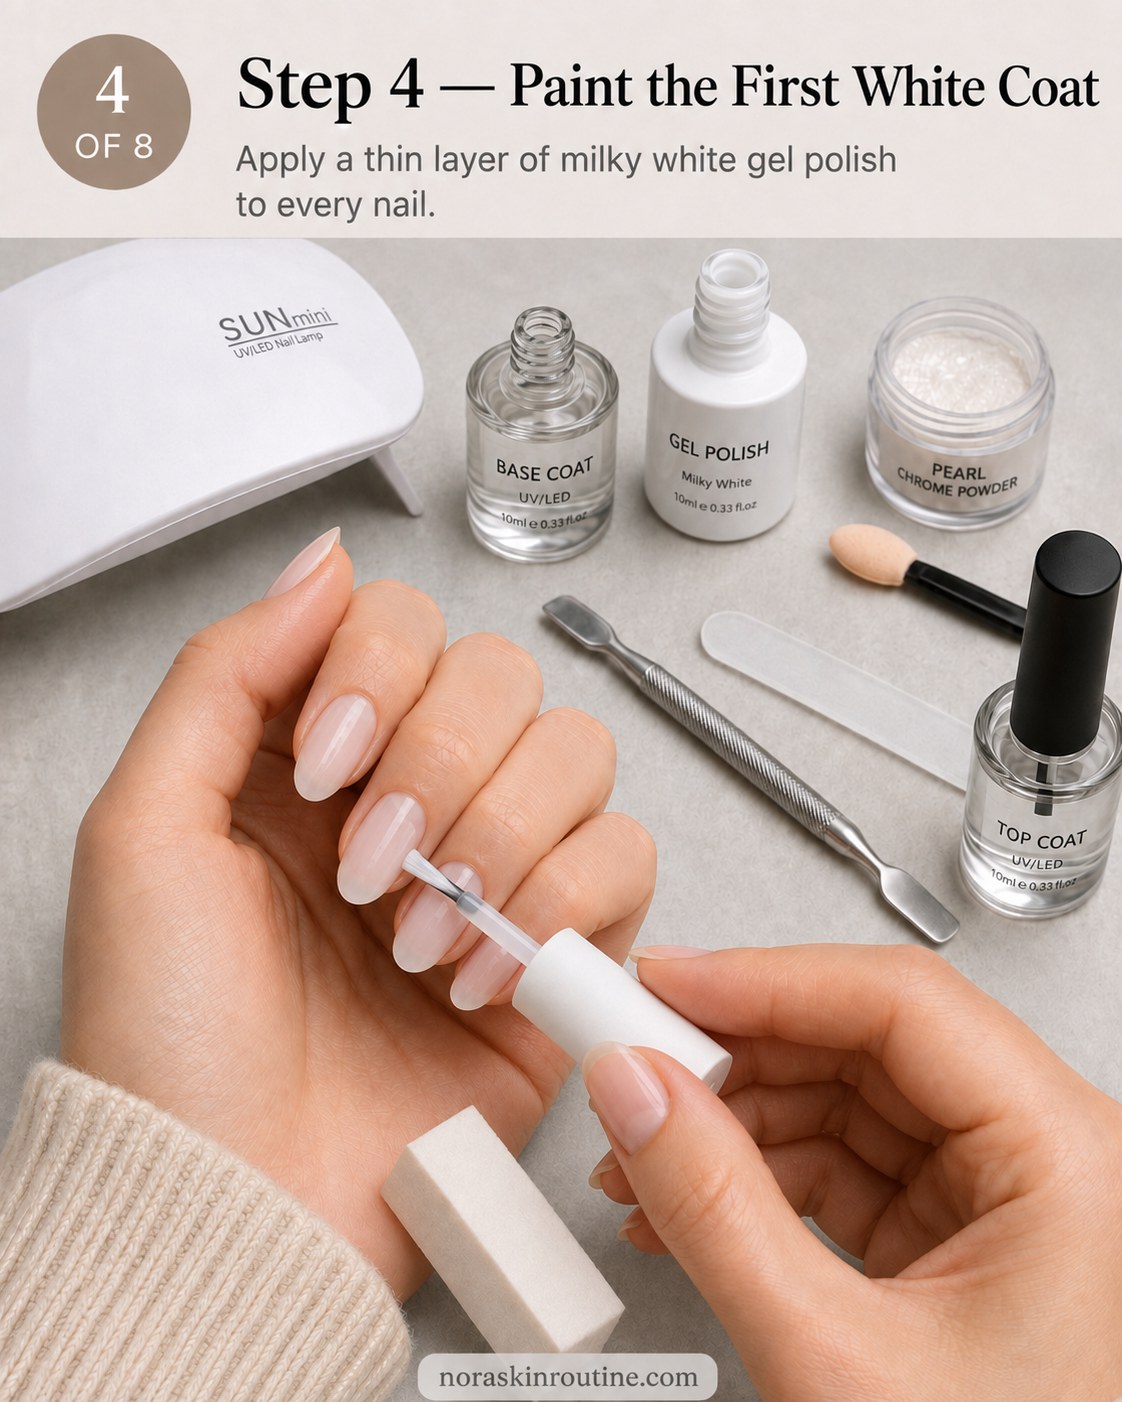
Once the base has cured, it is time for the colour that makes this whole look work: a soft, milky white gel polish rather than a stark opaque white. In the photo the first coat looks slightly sheer and streaky over the natural nail, and that is completely normal at this stage.
Apply it thinly, keeping a small gap at the cuticle line so the polish does not flood the skin. Do not chase full opacity on this first coat — gel polish is designed to build in thin layers, and trying to get solid colour in one pass usually leads to bubbling or an uneven surface once cured.
Build a Smooth Second White Coat
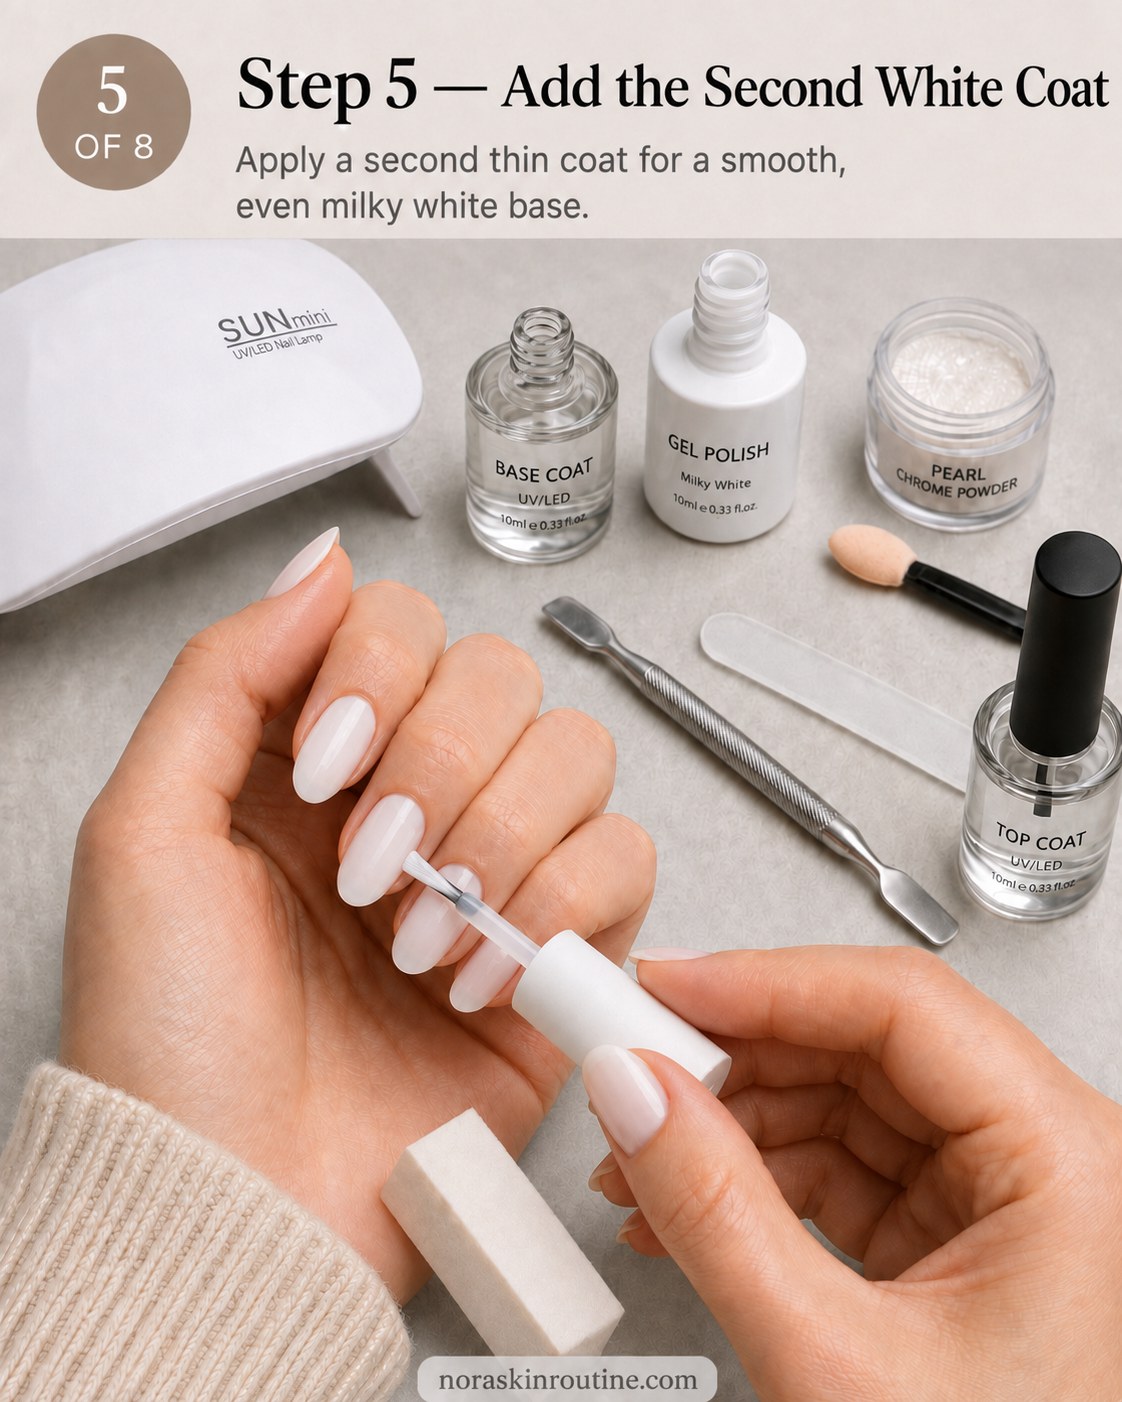
The second coat is where the milky white base really evens out, and you can see in the photo how much more solid and uniform the colour looks compared with the first pass. Brush on a second thin layer, again capping the free edge, and cure fully under the lamp.
- Check for streaks in natural light before curing — they are much harder to fix afterwards.
- Leave nails slightly tacky-free once cured, wiping with a lint-free pad if your gel system has a sticky top layer.
- Resist a third coat unless you can still see patchiness, since extra layers add bulk without much visual benefit.
Buff On the Pearl Chrome Powder
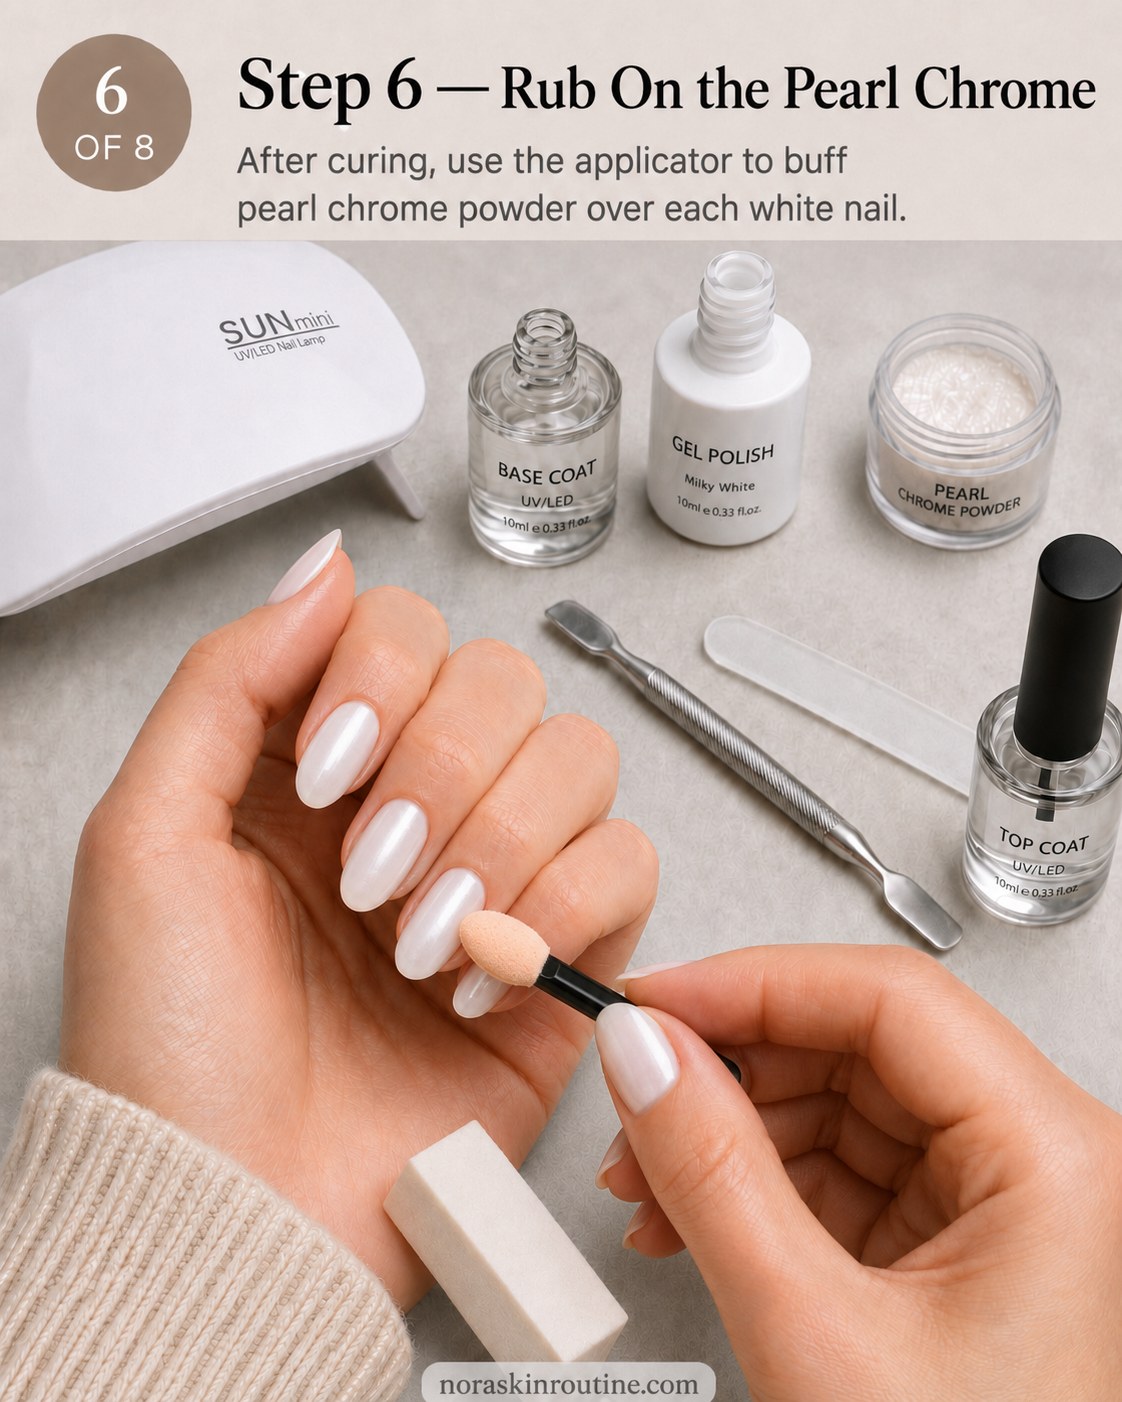
This is the step that turns a simple white manicure into something with real depth. After the second white coat has fully cured, dip the foam sponge applicator into the pearl chrome powder and gently rub it over each nail in small circular motions, exactly as shown in the photo.
You will notice the pearl powder does not sit flat like a pigment — it catches the light differently depending on the angle, giving that soft, opalescent glow rather than a hard metallic mirror. Work one nail at a time so the friction and warmth from buffing help the powder adhere evenly, and go back over any patchy spots with a fresh dab of powder before moving on.
Seal Everything With a Glossy Top Coat
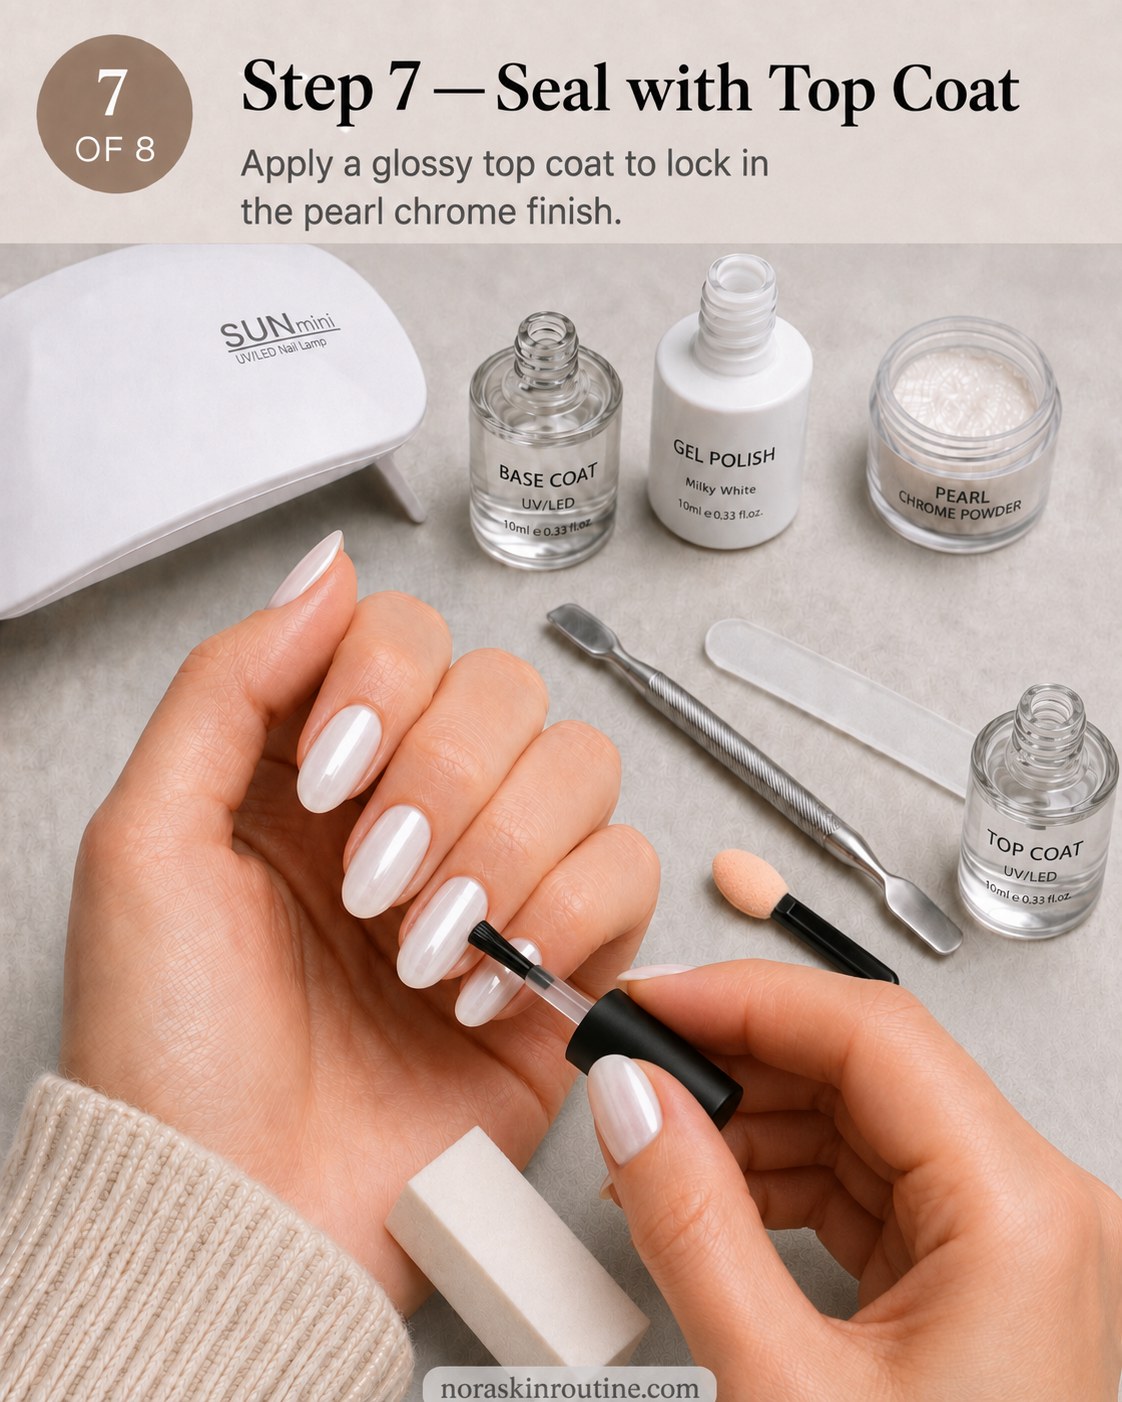
Pearl chrome powder on its own can feel slightly powdery to the touch, so sealing it properly matters more here than in a standard manicure. Brush on a glossy top coat in the same thin, cuticle-capping technique used earlier, making sure to cover the entire nail so no powder is left exposed at the edges.
Cure under the UV/LED lamp until the surface feels smooth and glass-like rather than tacky. If you notice a slightly dull patch once cured, it usually means that section needed a touch more top coat — a quick extra pass and a second short cure will smooth it right out.
The Finished Pearl Chrome Look
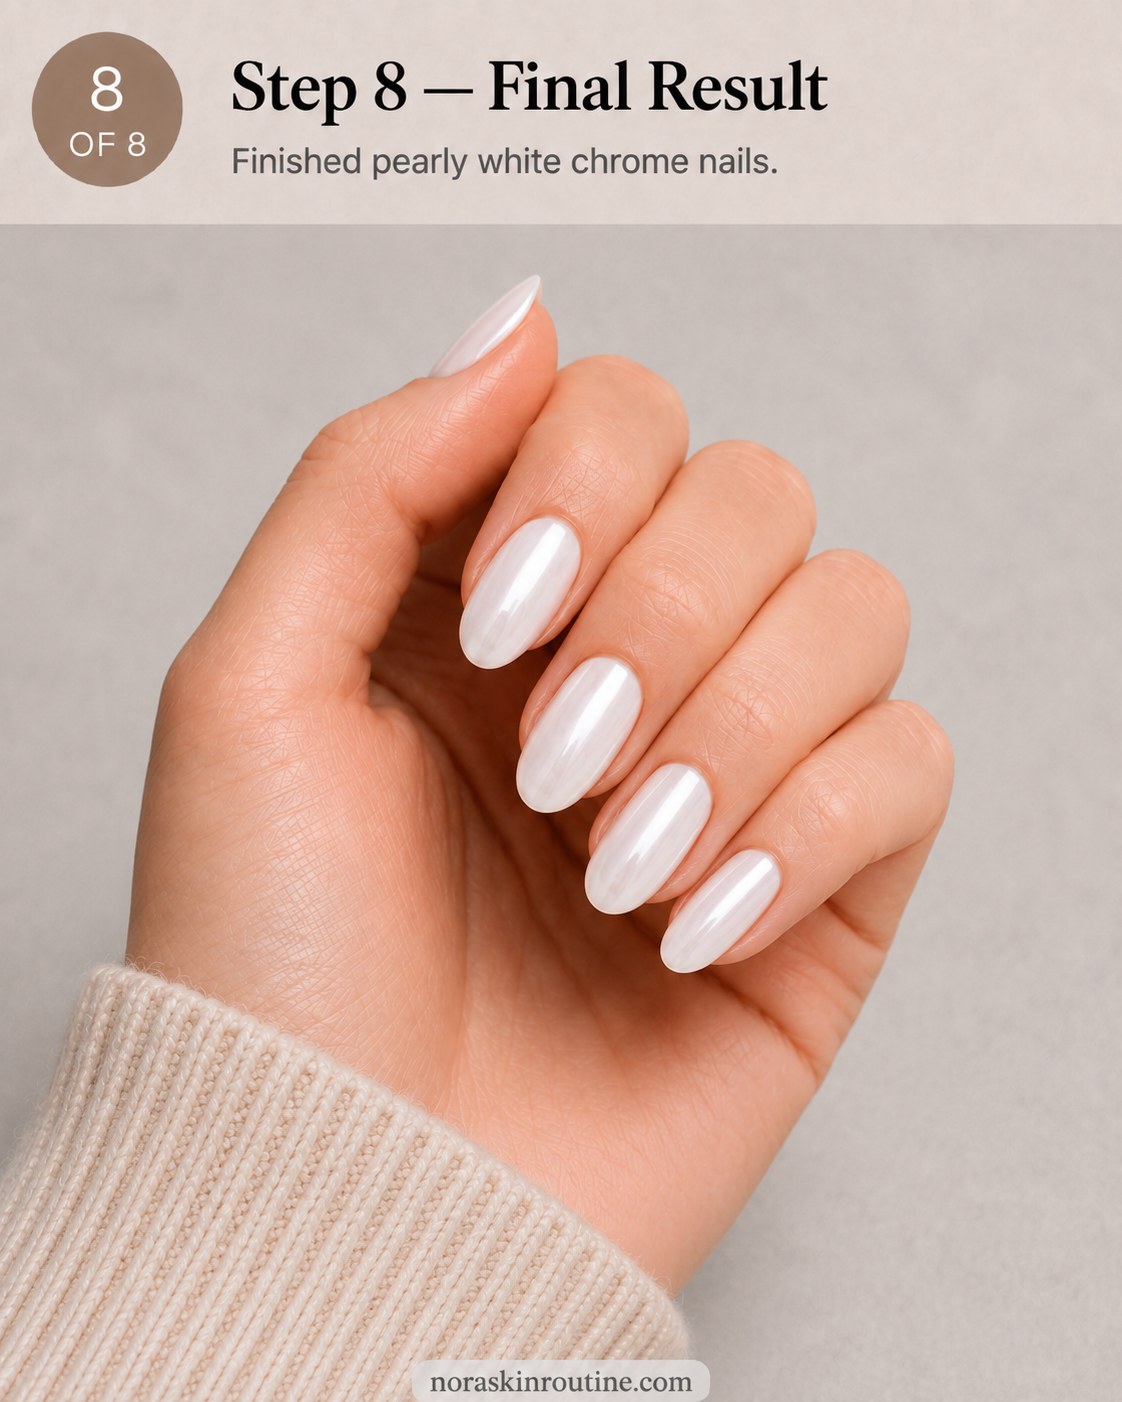
The final result is that soft, milky, almost moonlit shine you can see in the last photo — nowhere near as loud as a full metallic chrome, but with noticeably more dimension than a plain white manicure. It photographs beautifully in natural light, which is partly why this finish has become so popular for everyday wear rather than just special occasions.
Because the base is a neutral milky white, this technique adapts easily: it suits short and long nails alike, and it pairs well with almost any skin tone since the pearl shimmer shifts subtly rather than sitting as one flat colour.
There is something quietly satisfying about watching a plain white nail turn into something that glows a little differently every time it catches the light. This is one of those manicures that looks far more involved than it actually is, and once you have the rhythm of the two white coats and the buffing motion down, it becomes a genuinely relaxing thing to do with a free evening.

- Tools
- Products


Your Questions, Answered
Can I use regular nail polish instead of gel polish for this look?
You can try, but pearl chrome powder adheres best to a slightly tacky gel surface, so results with regular polish may be patchier and less long-lasting.
How long does a pearl chrome manicure like this usually last?
With proper prep, capping the tips, and a well-sealed top coat, this type of gel manicure often lasts around two to three weeks before you start noticing regrowth.
Why does my pearl powder look patchy after buffing?
This usually means the white gel coat cured with some tackiness left, or the powder was not buffed on evenly — going back over uneven spots with a fresh dab of powder before top coat can fix it.